Introduction
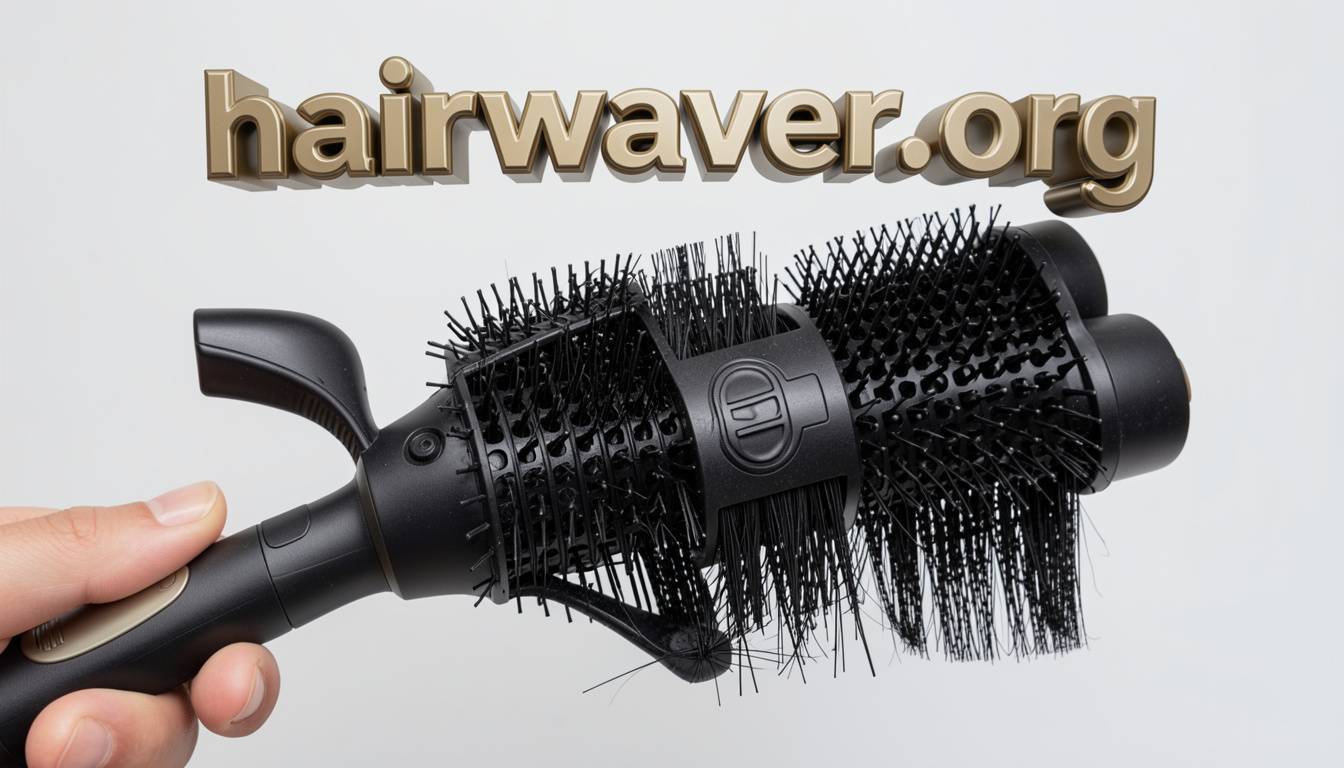
You reach for your hair waver expecting smooth, gorgeous waves. Instead, you notice sticky residue, product buildup, and a strange smell coming from the plates. This happens to almost everyone who skips regular cleaning. Learning how to clean a hair waver properly saves your tool and keeps your waves looking salon fresh.
Product buildup is not just unsightly. It affects performance. Dirty plates create uneven heat distribution and can even damage your hair over time. The good news is that cleaning a hair waver takes just a few minutes once you know the right method.
This guide walks you through everything you need to know. You will learn whether cleaning while hot is safe, what products actually work, how often to clean, and the exact steps to follow. We also cover common mistakes so you avoid damaging your tool.
Can You Clean a Hair Waver While It Is Hot?
Why Heat Matters During Cleaning
No, you should never clean a hair waver while it is hot. Hot plates can burn your skin instantly. Heat also causes cleaning products to evaporate too quickly, leaving residue instead of removing it. Always wait until your waver cools down completely before starting. VISIT…
Cooling typically takes about 15 to 20 minutes after unplugging. This waiting period matters more than people realize. Attempting to clean hot plates often pushes product deeper into grooves rather than lifting it away.
The Safe Temperature Check
Touch the plates lightly with the back of your hand before cleaning. If you feel any warmth at all, wait longer. Metal retains heat longer than you expect, especially on ceramic or tourmaline plates common in modern hair wavers. source: BOMBAY HAIR Australia
What Should You Use to Clean a Hair Waver?
Recommended Cleaning Products
You do not need fancy products to clean a hair waver effectively. Simple household items work best. Here is what actually gets the job done:
- Rubbing alcohol (isopropyl alcohol): Cuts through product buildup and evaporates quickly without leaving residue.
- Microfiber cloth: Gentle on plates and does not scratch coatings.
- Cotton pads or cotton balls: Perfect for detailed cleaning in grooves and edges.
- Mild dish soap and water: Works for lighter buildup when alcohol is not available.
- Soft-bristled toothbrush: Helps reach tight corners and textured plates.
Products to Avoid
Skip anything abrasive. Steel wool, rough sponges, and harsh scouring pads scratch ceramic and tourmaline coatings permanently. Avoid acetone-based nail polish remover too, since it can damage plastic housing and plate coatings over time.
How Often Should You Clean Your Hair Waver?
Building a Cleaning Schedule
For regular users, cleaning your hair waver once a week keeps buildup manageable. If you use styling products like hairspray, mousse, or heat protectant daily, weekly cleaning becomes even more important. Product residue accumulates faster than most people expect.
Occasional users can clean every two to three weeks instead. The key indicator is visual: if you notice any discoloration, stickiness, or dulling on the plates, it is time to clean regardless of your regular schedule.
I always tell people to do a quick wipe down after every single use. This small habit prevents heavy buildup and makes deeper cleaning sessions much faster.
Step by Step: How to Clean a Hair Waver Properly
Follow these numbered steps for safe, effective cleaning every time. VISIT…
- Unplug the device immediately after use. Never attempt cleaning while the waver remains connected to power.
- Let it cool completely. Wait 15 to 20 minutes minimum. Test with the back of your hand before touching plates directly.
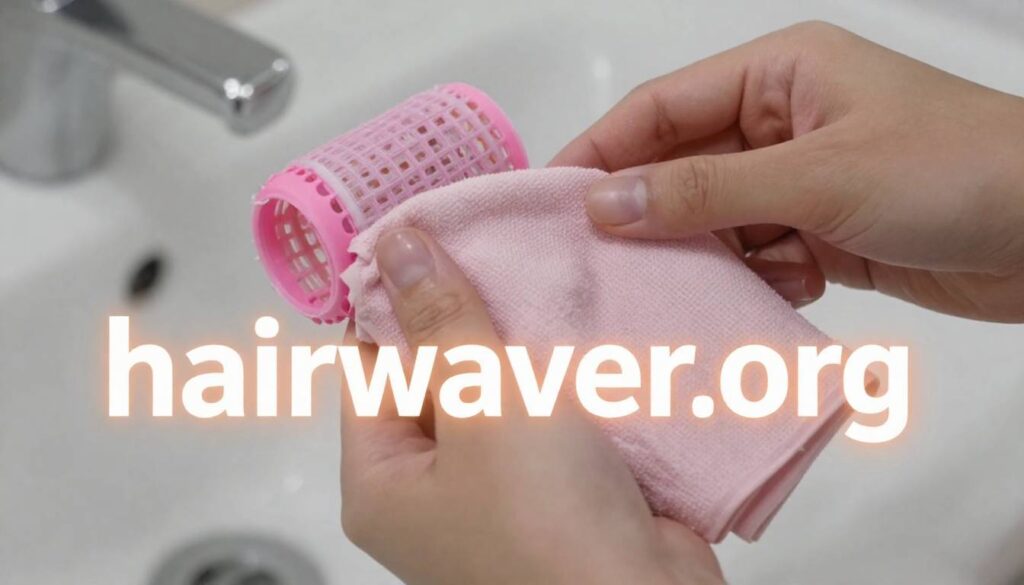
- Dampen a cotton pad with rubbing alcohol. Do not soak it. A slightly damp pad works better than a dripping one.
- Wipe the plates gently in circular motions. Focus on visible buildup first, then move to the entire surface.
- Use a cotton swab for grooves and edges. Textured or waving plates often trap product in small crevices.
- Wipe away residue with a dry microfiber cloth. This removes any remaining alcohol and leftover product.
- Check for stubborn spots. If buildup remains, repeat steps 3 through 6 until plates look clean.
- Let the waver air dry fully before storing. Moisture left on plates can cause rust or damage over time.
Quick Cleaning Checklist for Safety
Use this checklist every time you clean your hair waver:
- Waver is unplugged
- Plates have fully cooled
- Cleaning cloth or cotton pad is only slightly damp
- No abrasive tools are being used
- Alcohol or cleaner has not dripped into the hinge or motor area
- Plates are completely dry before storage
- Cord is inspected for damage while cleaning
This simple checklist takes seconds to run through but prevents most common accidents and mistakes.
Beginner Friendly Cleaning Instructions
If this is your first time cleaning a hair waver, keep it simple. Start with just alcohol and a cotton pad. Avoid overcomplicating the process with multiple products at once. hairwaver
Work in small sections rather than trying to clean the entire plate in one wipe. This gives you better control and helps you spot buildup you might otherwise miss. Take your time, especially around edges where hair products tend to collect most.
Do not worry about getting every single spot perfect on your first try. Consistent light cleaning over time works better than one aggressive deep clean.
Common Mistakes and How to Avoid Them
Mistake 1: Cleaning While Still Hot
This is the most common and dangerous mistake. Always wait for complete cooling. Rushing this step risks burns and pushes residue deeper into the plates instead of removing it. hairwaver
Mistake 2: Using Water Directly on Plates
Pouring or spraying water directly onto a hair waver can damage internal electrical components. Always apply liquid to your cloth or cotton pad first, never directly onto the device.
Mistake 3: Scrubbing Too Hard
Aggressive scrubbing scratches plate coatings, especially ceramic and tourmaline surfaces. Gentle, consistent wiping works better than forceful scrubbing every time.
Mistake 4: Ignoring the Cord and Base
Many people only clean the plates and forget the handle, cord, and base. Dust and product residue collect here too. A quick wipe down of the entire tool keeps everything looking and functioning better.
Mistake 5: Storing While Damp
Putting away a hair waver before it fully dries invites rust and mildew, especially in humid bathrooms. Always confirm plates are bone dry before closing and storing your tool.
Conclusion
Learning how to clean a hair waver properly protects your investment and keeps your styling results consistently beautiful. The process is simple: let it cool, use alcohol and a soft cloth, focus on grooves, and always dry completely before storage. Cleaning weekly, or after every use if you style daily, prevents stubborn buildup from ever becoming a problem.
Your hair waver works harder for you when you take care of it. A few minutes of maintenance each week means smoother waves, better heat distribution, and a longer lifespan for your favorite tool.
Have you tried cleaning your hair waver with any of these methods? Share your favorite tips in the comments, and pass this guide along to a friend who might be overdue for a cleaning session.
FAQs About Cleaning a Hair Waver
1. Can you clean a hair waver while it is hot? No. Always let it cool completely for at least 15 to 20 minutes. Cleaning hot plates risks burns and pushes product residue deeper instead of removing it.
2. What should you use to clean a hair waver? Rubbing alcohol and a microfiber cloth or cotton pad work best. Avoid abrasive materials like steel wool, which can scratch plate coatings permanently.
3. How often should you clean a hair waver? Weekly cleaning works well for regular users. Occasional users can clean every two to three weeks. A quick wipe after each use also helps prevent heavy buildup.
4. Is it safe to use water to clean a hair waver? Mild soap and water work for light buildup, but always apply it to a cloth first rather than pouring water directly onto the device to avoid electrical damage.
5. Why does my hair waver have white residue on the plates? White residue usually comes from hairspray, dry shampoo, or heat protectant buildup. Rubbing alcohol removes this residue effectively without damaging plate coatings.
6. Can I use vinegar to clean a hair waver? Diluted vinegar can work for light cleaning, but rubbing alcohol remains the more effective and faster-drying option for most product buildup.
7. How do I clean textured or waving plates specifically? Use a cotton swab or soft toothbrush dampened with alcohol to reach into grooves and ridges where product often collects and hides.
8. What happens if I never clean my hair waver? Neglecting cleaning leads to uneven heat distribution, sticky plates, reduced styling performance, and potential hair damage from buildup transferring onto your strands.
also read: hairwaver.org
email: johanharwen@314gmail.com
Author Name: Rachel Simmons
About the Author : Rachel Simmons is a beauty and hair care writer with eight years of experience covering styling tools, product reviews, and hair maintenance tips. She has tested dozens of hair wavers, curling irons, and straighteners to provide practical, easy to follow advice. Rachel believes that proper tool maintenance is the secret most beauty tutorials skip, and she loves sharing simple habits that make a real difference in everyday hair care routines.