
Introduction
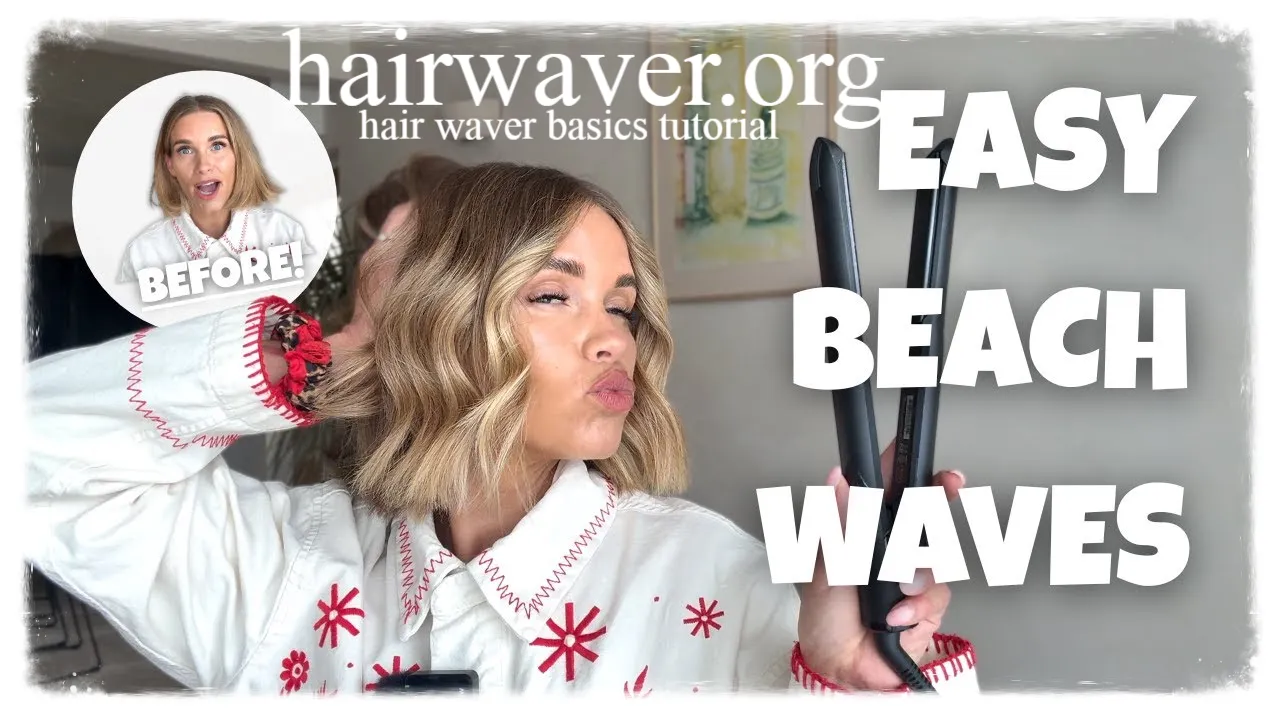
Beachy waves are one of the most timeless hairstyles, giving your hair a stylish, effortless, and natural look. With the right tools and techniques, you don’t need a professional stylist to achieve salon-like waves at home. A hair waver makes the process simple by creating soft, defined waves with minimal effort, even for beginners.
In this Hair Waver Basics Tutorial, you’ll learn how to use a hair waver properly, prepare your hair for styling, and create flawless beachy waves that last throughout the day. Whether you want a casual everyday hairstyle or a glamorous look for a special occasion, these easy tips will help you master the art of wavy hair without visiting a salon.
What Is a Hair Waver?
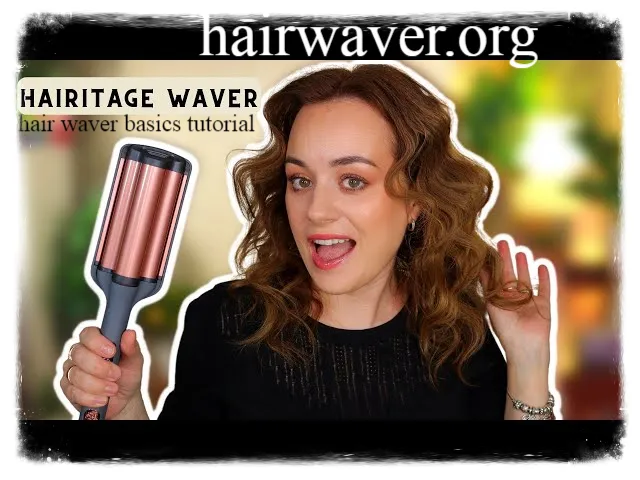
A hair waver is a styling tool designed specifically to create wave patterns rather than tight curls. The barrel typically features an S shape or triple barrel design. This shape bends hair into consistent waves as you clamp sections between the plates.
Traditional curling irons use a round barrel that wraps hair around itself. A hair waver works differently. It presses hair between shaped plates, creating that soft, undulating wave pattern popular in beach hairstyles. The result looks more natural and less structured than tight ringlet curls.
Most hair wavers include adjustable temperature settings. This flexibility matters because different hair types require different heat levels. Fine hair needs lower temperatures while thick or coarse hair often requires higher heat to hold a wave properly.
How Do You Use a Hair Waver?
Learning proper technique makes all the difference in your results. Follow these clear steps for beautiful waves every time. hairwaver
Step by Step Instructions
- Start with clean, dry hair. Wet or damp hair can damage from excessive heat and will not wave properly.
- Apply a heat protectant spray throughout your hair. This simple step prevents damage and helps your waves last longer.
- Divide your hair into sections. Working in smaller sections ensures even heat distribution and consistent wave patterns.
- Set your temperature based on your hair type. We cover specific recommendations below.
- Clamp a section of hair near the roots, leaving about an inch of space from your scalp for safety.
- Hold the waver in place for eight to twelve seconds depending on your hair thickness.
- Release the clamp and move down to the next section, slightly overlapping the previous wave.
- Continue this process throughout each section until you reach the ends.
- Let your hair cool completely before touching or styling it further. This cooling period sets the wave pattern.
- Run your fingers through your waves to loosen them slightly and create a more natural look.
Beginner Tips for Success
Starting out with a hair waver can feel intimidating. These beginner tips will help you avoid common mistakes.
Practice on smaller sections first. Trying to grab too much hair at once leads to uneven waves and increases your risk of missing spots entirely.
Always work away from your face. Position the waver so the open side faces away from your skin to prevent accidental burns.
Alternate the direction of your waves. Wave some sections toward your face and others away for a more natural, less uniform appearance.
Do not rush the process. Rushing leads to weak waves that fall out within hours. Patience during styling creates waves that last all day. hairwaver
Is a Hair Waver Better Than a Curling Iron?
This question comes up constantly, and the honest answer depends on your desired look. Both tools have genuine strengths and specific limitations worth understanding before you choose.
Feature
Hair Waver
Curling Iron
Style Created
Natural, beachy waves
Defined curls or ringlets
Learning Curve
Moderate, requires practice source: Merrick’s Art
Easier for most beginners
Versatility
Limited to wave patterns
Multiple curl sizes and styles
Speed
Fast for larger sections
Slower, works section by section
Best For
Casual, effortless looks
Formal styles and tight curls
Neither tool is universally better. A hair waver excels at creating that trendy, low maintenance beach wave look quickly. A curling iron offers more versatility if you want different curl types for various occasions.
I personally reach for my hair waver on busy mornings because it delivers gorgeous results in half the time a curling iron requires. However, I still use my curling iron for special occasions when I want tighter, more defined curls.
Can Beginners Use a Hair Waver?
Absolutely. A hair waver ranks among the more beginner friendly heat styling tools available today. The clamp and hold mechanism removes much of the technique required for wrapping hair around a traditional barrel.
Beginners often find hair wavers easier because there is less room for error in hand positioning. You simply clamp, hold, and release. This straightforward process makes it accessible even if you have never styled your hair with heat tools before.
That said, expect your first few attempts to feel awkward. Most people need three to five practice sessions before their waves start looking consistently polished. This learning curve is completely normal and nothing to worry about.
What Temperature Should I Use on Fine Hair?
Fine hair requires special care because it damages more easily than thick or coarse hair types. Using excessive heat on fine strands leads to breakage, dryness, and long term damage.
For fine hair, set your hair waver between 300 and 330 degrees Fahrenheit. This lower range still creates lasting waves while minimizing heat damage. Higher temperatures are simply unnecessary for fine hair since it holds styles more easily than thicker hair types. source: Instagram · natgeebeauty
Medium hair textures typically work well between 330 and 370 degrees. Thick or coarse hair often requires temperatures between 370 and 410 degrees to achieve lasting waves.
Always start on the lower end of any recommended range. You can increase temperature gradually if your waves are not holding, but you cannot undo heat damage once it happens.
Expert Styling Advice
Professional stylists recommend several techniques that elevate your wave game beyond basic tutorials.
Use texturizing spray before styling. This product adds grip to your hair, helping the waver create more defined, longer lasting waves.
Wave hair in the opposite direction it naturally falls. This technique adds volume and dimension that basic waving misses.
Do not wave every single section identically. Vary your timing slightly and alternate directions for waves that look effortlessly undone rather than uniformly perfect.
Set your waves with a light hairspray after they cool. This final step locks in your style and extends how long your waves last throughout the day.
Consider the size of your waver barrel based on your hair length. Shorter hair typically looks better with smaller barrels, while longer hair can handle larger barrel sizes for bigger, bouncier waves.
Common Questions About Hair Wavers
Many beginners wonder about maintenance and safety when starting their hair waver basics tutorial journey. Cleaning your tool regularly removes product buildup that can affect performance. Simply wipe the plates with a damp cloth once they cool completely after each use.
Storage matters too. Always let your hair waver cool fully before packing it away. Storing a hot tool can damage cords or create fire hazards in enclosed spaces.
Conclusion
Mastering a hair waver basics tutorial takes practice, but the effortless beachy waves you achieve make every attempt worthwhile. Remember to start with proper heat protection, work in manageable sections, and choose temperatures appropriate for your specific hair type.
Whether you are comparing this tool to a curling iron or wondering if beginners can succeed with one, the answer remains encouraging. With patience and the tips shared here, anyone can create beautiful, natural looking waves at home.
Have you tried using a hair waver yet? Share your experience or favorite tips with fellow readers, and do not hesitate to experiment with different techniques until you find what works best for your unique hair type.
FAQs
How long do waves from a hair waver typically last?
Waves usually last twelve to twenty four hours depending on your hair type and whether you use setting products like hairspray.
Can I use a hair waver on wet hair?
No. Always style completely dry hair to prevent damage and ensure your waves hold properly.
What size barrel should beginners choose?
Beginners often find medium sized barrels easiest to work with since they create versatile waves suitable for most hair lengths.
Does a hair waver work on short hair?
Yes, though shorter hair typically requires smaller barrel sizes and shorter clamping times compared to longer hair.
How often should I clean my hair waver?
Clean your tool every few uses to remove product residue that can affect heat distribution and styling results.
About the Author : Jessica Alvarez is a licensed cosmetologist and beauty content writer with eight years of experience in professional hairstyling. She specializes in heat styling techniques and product education for everyday users. Jessica has trained extensively in wave and curl application and enjoys helping readers achieve salon quality results at home. When she is not writing, she works behind the chair at a boutique salon specializing in texture and color services.
email: johanharwen@314gmail.com
Author Name: Jessica Alvarez
