
Introduction
You want beachy waves without spending an hour fighting your curling iron. A hair waver solves this problem quickly. This tool creates consistent, effortless waves in minutes, making it perfect for busy mornings or quick style changes.
Understanding Hair Waver Basics How to USE transforms your styling routine completely. Unlike traditional curling irons, hair wavers use a unique barrel shape that produces natural-looking waves without twisting your wrist repeatedly. This guide answers every question you have about using a hair waver properly.
You will learn what a hair waver actually is, proper technique for beginners, ideal hair conditions, correct temperature settings, and how to protect your hair from damage. By the end, you will style confidently and achieve salon-quality waves at home.
What Is a Hair Waver?
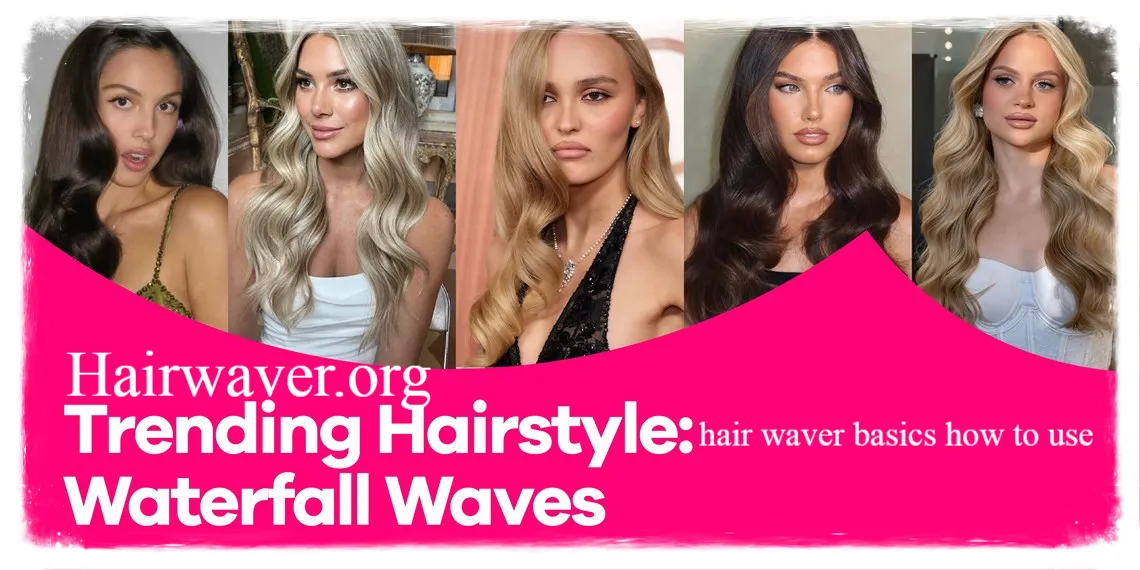
A hair waver is a styling tool designed specifically to create wave patterns rather than tight curls. The barrel typically features an S-shaped or triangular design that presses hair into consistent wave formations as you clamp sections between the plates. source: Instagram · natgeebeauty
Unlike curling irons that wrap hair around a cylindrical barrel, hair wavers work through pressing and holding. This mechanical difference creates the signature loose, beachy wave look that has become incredibly popular in recent years.
Most hair wavers include multiple barrel sizes for different wave intensities. Smaller barrels create tighter waves resembling crimped hair. Larger barrels produce soft, natural-looking waves perfect for everyday wear.
How Do You Use a Hair Waver for Beginners?
Learning proper technique matters more than expensive tools. Follow these numbered steps for consistent, professional-looking results every time. hairwaver
Step by Step Waving Process
- Start with clean, dry hair. Wash and completely dry your hair before waving. Any dampness prevents proper heat styling and can damage hair.
- Apply heat protectant spray. Distribute evenly through all sections. This crucial step prevents heat damage and maintains hair health long term.
- Section your hair into four parts. Divide hair into top, bottom, left, and right sections using clips. This organization ensures you do not miss any pieces.
- Take one inch sections from the bottom layer. Smaller sections create more defined waves. Larger sections work faster but produce looser results.
- Clamp the waver at the root. Position the tool close to your scalp, leaving about one inch of space for safety.
- Hold for 8 to 10 seconds. Count steadily rather than rushing. Proper hold time ensures the wave pattern sets correctly.
- Release and move down the section. Reposition the waver slightly lower, overlapping the previous section by half an inch.
- Repeat until you reach the ends. Continue this pattern down each section until you complete the entire piece.
- Let hair cool before touching. Waves set as they cool, so resist running your fingers through immediately.
- Finish with texturizing spray. This final touch separates waves naturally and adds lasting hold throughout the day.
I always tell beginners that patience during the first few attempts pays off significantly. Your technique improves quickly once you understand proper timing and section sizes.
Do You Use a Hair Waver on Wet or Dry Hair?
Always use a hair waver on completely dry hair. Applying heat tools to wet or damp hair causes serious damage, including breakage, split ends, and even steam burns to your scalp.
Water inside hair strands boils rapidly when exposed to styling heat. This process damages the hair’s internal structure permanently. Even slightly damp hair increases your risk of damage significantly.
If you just washed your hair, allow it to air dry completely or use a blow dryer first. Waiting the extra time prevents unnecessary damage and actually helps waves last longer throughout the day. source: Urban Betty Salon
What Temperature Should a Hair Waver Be Set To?
Temperature selection depends primarily on your hair type and texture. Using incorrect temperatures either damages hair or fails to create lasting waves.
Temperature Guide by Hair Type
Fine or damaged hair: 250 to 300 degrees Fahrenheit works best. Lower temperatures protect fragile strands while still creating beautiful waves.
Medium texture hair: 300 to 350 degrees Fahrenheit provides the ideal balance. Most people fall into this category and achieve excellent results at these settings. hairwaver
Thick or coarse hair: 350 to 400 degrees Fahrenheit may be necessary. Thicker strands require more heat to properly set the wave pattern.
Starting at lower temperatures and increasing gradually protects your hair while you learn how much heat your specific hair type requires. Never exceed 400 degrees regardless of hair type, as this risks serious damage.
Can a Hair Waver Damage Hair?
Yes, hair wavers can damage hair when used incorrectly. However, proper technique and precautions minimize risks significantly, allowing you to style safely and regularly.
Common Damage Causes
Excessive heat exposure without protection ranks as the primary damage cause. Skipping heat protectant spray leaves hair vulnerable to moisture loss and structural breakdown. Using tools on wet hair also causes immediate, severe damage.
How to Get Beach Waves With a Hair WaverHolding the waver too long on each section overexposes hair to heat unnecessarily. Additionally, using hair wavers daily without breaks prevents hair from recovering between styling sessions. hairwaver
Damage Prevention Tips
Always apply heat protectant before styling. Limit hair waver use to two or three times weekly maximum. Deep condition regularly to restore moisture and strength. Choose appropriate temperature settings for your specific hair type.
Hair Waver vs Curling Iron Comparison
Understanding the differences helps you choose the right tool for your desired look.
| Feature | Hair Waver | Curling Iron |
|---|---|---|
| Wave Pattern | Consistent, uniform waves | Varies based on technique |
| Learning Curve | Beginner friendly | Requires more practice |
| Styling Time | Faster, typically 10-15 minutes | Slower, often 20-30 minutes |
| Wrist Strain | Minimal, clamp and hold | More strain from wrapping motion |
| Versatility | Limited to wave styles | Creates curls, waves, and combinations |
| Best For | Beachy, natural waves | Defined curls and varied textures |
| Price Range | Similar to curling irons | Wide range available |
| Heat Damage Risk | Moderate with proper use | Moderate with proper use |
This comparison shows that hair wavers excel at creating consistent, effortless waves quickly, while curling irons offer more versatility for different curl types and styles. hairwaver
Pros and Cons of Using a Hair Waver
Advantages
Hair wavers create incredibly consistent results, even for styling beginners. The clamping technique reduces wrist fatigue compared to wrapping hair repeatedly. Most sessions take significantly less time than traditional curling methods. The natural, beachy wave pattern suits many hair lengths and face shapes beautifully.
Disadvantages
Hair wavers offer less versatility than curling irons for varied styles. The tool creates essentially one wave pattern rather than multiple curl types. Some users find the pressing motion less intuitive initially than wrapping techniques. Quality hair wavers can be expensive, though budget options exist. hairwaver
Expert Styling Tips
Professional stylists recommend several techniques that elevate your hair waver results significantly.
Alternate direction for natural movement. Wave sections toward your face, then away, creating more realistic texture rather than uniform patterns.
Use dry shampoo before styling. This adds grip and texture, helping waves hold longer throughout the day.
Avoid touching waves immediately. Letting hair cool completely before running fingers through prevents loosening the wave pattern prematurely.
Curl away from your face for volume. This classic technique creates a flattering frame around your features.
Invest in ceramic or tourmaline barrels. These materials distribute heat more evenly, reducing damage risk while creating smoother waves.
I have found that combining these expert tips with proper basic technique creates salon quality results consistently, even on busy mornings.
Conclusion
Mastering Hair Waver Basics How to USE opens up effortless styling possibilities for any hair type or length. From understanding proper temperature settings to following correct technique, you now have everything needed to create beautiful waves confidently.
Remember these key takeaways: always style dry hair, choose temperature based on your hair type, protect strands with heat protectant spray, and practice patience as you develop your technique. The comparison between hair wavers and curling irons shows each tool serves different styling needs perfectly.
Ready to try these Hair Waver Basics How to USE yourself? Share your results with friends, or let us know which expert tip worked best for your hair type. Your perfect wave routine is just a few practice sessions away.
FAQs
1. How long do hair waver curls typically last?
Waves typically last one to three days depending on hair type and product use. Using texturizing spray and avoiding excessive touching extends wave longevity significantly.
2. Can I use a hair waver on short hair?
Yes, hair wavers work well on hair as short as chin length. Shorter hair may create tighter, more defined wave patterns compared to longer lengths.
3. Should I wave my hair from roots to ends every time?
Not necessarily. Many stylists recommend starting waves an inch or two from the root for a more natural, effortless appearance rather than uniform waves throughout.
4. What size barrel should beginners choose?
Beginners typically succeed best with medium sized barrels around one inch. This size creates noticeable waves while remaining forgiving of technique inconsistencies.
5. Is a hair waver better than a curling wand?
Neither tool is universally better. Hair wavers excel at quick, consistent waves, while curling wands offer more versatility for varied curl and wave combinations.
About the Author : Jennifer Adams is a licensed cosmetologist and beauty writer with eight years of experience in professional hair styling. She specializes in heat styling techniques and tool education for at home stylists. Jennifer has worked with numerous beauty brands testing and reviewing styling tools. She believes everyone deserves salon quality results using proper technique and the right tools for their hair type.
email: johanharwen@314gmail.com
Author Name: Jennifer Adams
