
Introduction
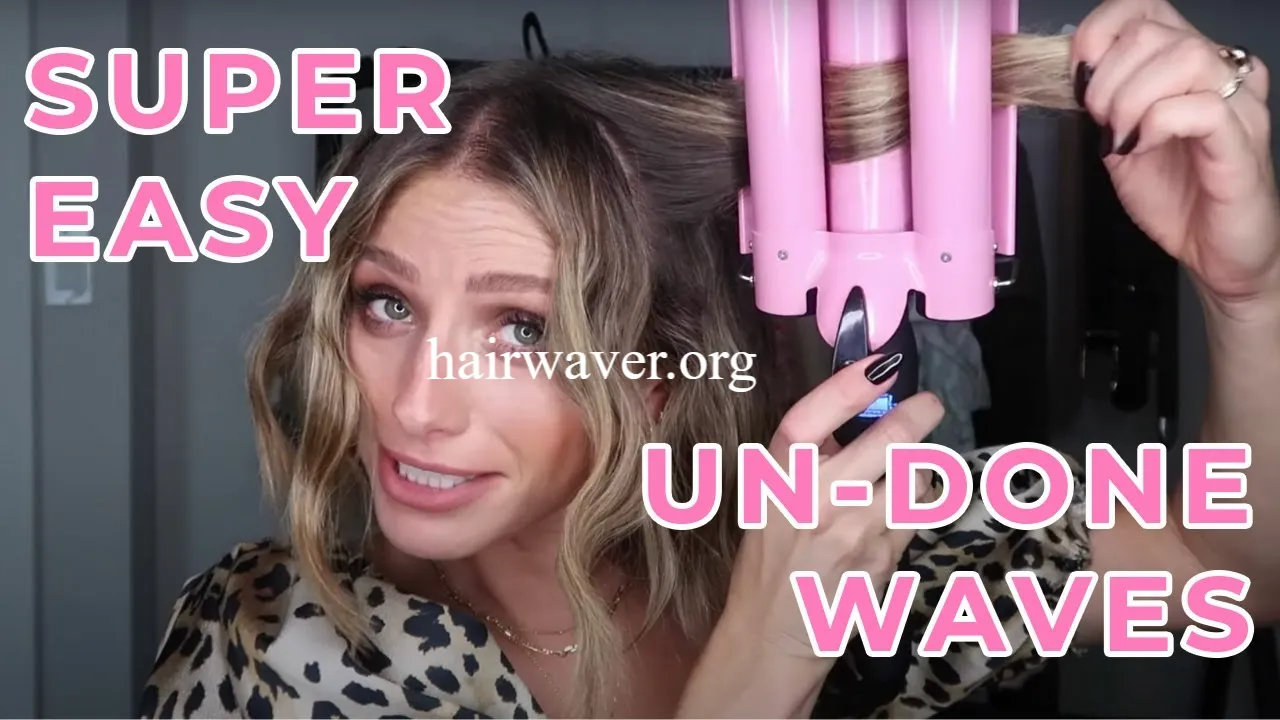
You want that effortless, just came back from the beach look, but your hair never seems to cooperate. Good news. Learning how to get beach waves with a hair waver is easier than you think, and you do not need a salon appointment to pull it off. A hair waver takes the guesswork out of styling because it creates soft, even waves in a fraction of the time a curling iron takes.
I remember my first attempt with a hair waver. My waves came out uneven and dropped within an hour. Once I learned a few small tricks, everything changed. Now my waves stay bouncy all day.
This article walks you through everything step by step. You will learn how to prep your hair, use the tool correctly, and make your waves last. We will also answer the most common questions people search for, so you leave with zero confusion. Source:popsugar
What Is a Hair Waver and Why It Works So Well
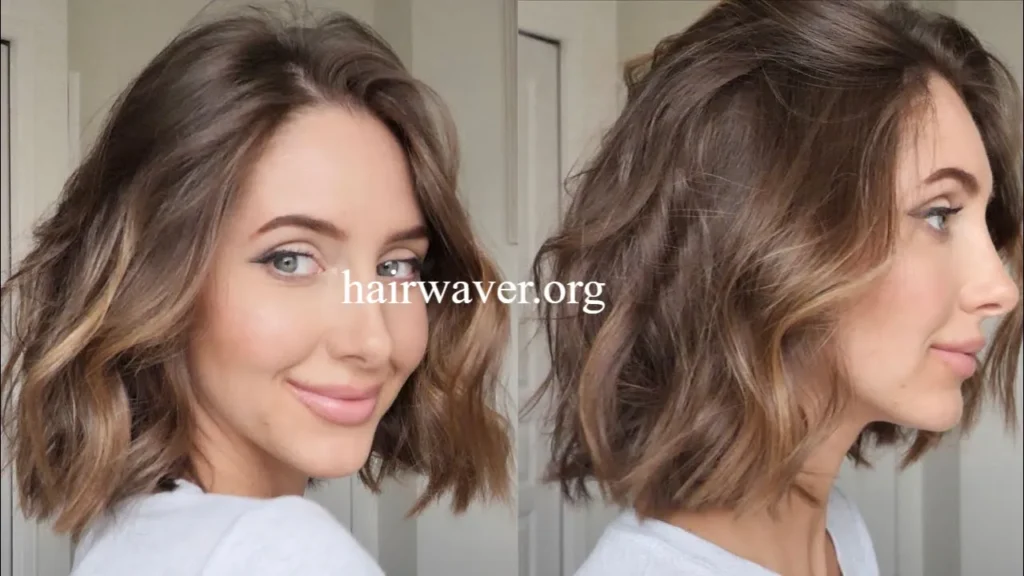
A hair waver is a styling tool with a special barrel shape, often oval, triangular, or wavy, designed to create consistent S shaped waves. Unlike a curling iron, you do not need to twist or wrap your hair manually.
This makes it a favorite for beginners and busy mornings. You simply clamp a section of hair, hold it briefly, and release. The result looks natural, not overly curled or crimped.
Why Beach Waves Look So Natural
Beach waves mimic the texture your hair gets after a day in the sun and salt water. They are loose, slightly undone, and never stiff. A hair waver replicates this texture indoors, without the frizz or dryness real sun exposure causes.
How to Get Beach Waves With a Hair Waver Step by Step
Follow these steps for smooth, salon like results at home.
Step 1: Start With Clean, Dry Hair
Always begin with completely dry hair. Damp hair can damage the heat plates and will not hold a wave properly. If your hair feels slightly humid, blow dry it fully before styling.
Step 2: Apply a Heat Protectant
Spray a light heat protectant through your strands. This shields your hair from damage and helps the waves glide smoothly through the barrel.
Step 3: Divide Your Hair Into Sections
Split your hair into four to six sections using clips. Smaller sections create tighter, more defined waves. Larger sections give a looser, more relaxed finish.
Step 4: Set the Right Temperature
Fine hair does best around 300 to 320 degrees Fahrenheit. Thick or coarse hair may need up to 380 degrees. Starting lower and increasing gradually protects your hair from unnecessary heat damage.
Step 5: Clamp and Hold
Take a one inch section, clamp the waver near the roots, and hold for three to five seconds. Release, then move down the length of the strand and repeat. Avoid holding too long, since this can create a stiff, crimped look instead of a soft wave.
Step 6: Alternate Direction for a Natural Look
Switch the direction of the waver every other section. This avoids a uniform, robotic pattern and makes your waves look effortless rather than styled.
Step 7: Let Waves Cool Before Touching Them
Once you finish a section, let it cool completely before running your fingers through it. Curls set as they cool, so touching them too soon can loosen the wave.
Step 8: Finish With Texture Spray
Lightly mist a sea salt or texture spray through your hair. Scrunch gently with your fingers to blend the waves and add extra volume.
Common Mistakes to Avoid
- Skipping heat protectant, which leads to dryness and split ends
- Using sections that are too large, resulting in weak, undefined waves
- Brushing waves immediately after styling, which flattens the texture
- Setting the temperature too high for fine or damaged hair
- Holding each section for too long, creating a crimped effect instead of a wave
Best Hair Waver Techniques for Different Hair Types
Fine Hair
Use a lower heat setting and smaller sections. Fine hair heats up quickly, so a lighter touch prevents damage while still creating a soft wave.
Thick or Coarse Hair
Increase the heat slightly and hold each section a touch longer. Thick hair takes more time to absorb heat evenly.
Short Hair
Yes, you can absolutely use a hair waver on short hair. Choose a smaller barrel size and work with smaller sections close to the scalp for the best hold.
Curly or Wavy Natural Hair
Straighten sections lightly before using the waver, or simply enhance your natural pattern with a light touch and lower heat.
How to Make Beach Waves Last All Day
Everyone wants waves that survive more than a few hours. Here is what actually works.
- Use a texture spray instead of heavy styling gel
- Avoid brushing your waves once they are set
- Sleep with a silk pillowcase to reduce friction
- Use a light hairspray only at the roots for lift
- Twist loose sections into buns overnight for extra hold before big events
A texture spray works particularly well because it adds grip to the hair strand without weighing it down. Brushing, on the other hand, breaks apart the wave pattern completely, so keep your fingers as your only tool once the style is done.
Hair Waver vs Curling Iron: Which One Wins for Beach Waves
Many people ask whether a hair waver is really better than a curling iron for this look. The short answer is yes, especially for beginners. A hair waver is easier for creating consistent beach waves because the barrel shape does the shaping work for you.
A curling iron requires more skill, since you control the twist, direction, and tension manually. A hair waver removes that pressure, giving you even results every single time, even on your first try.
Hair Waver Basics Tips
Conclusion
Getting beach waves with a hair waver does not require professional training or expensive salon visits. With clean dry hair, the right temperature, and a few simple techniques, you can create that relaxed, sun kissed look in fifteen minutes or less.
Remember to protect your hair with heat spray, hold each section for just a few seconds, and finish with texture spray to lock everything in place. Once you master how to get beach waves with a hair waver, you will never want to go back to old styling methods.
Give it a try this week and see the difference for yourself. Which tip are you most excited to test first? Share this guide with a friend who is still struggling with their curling iron.
Hair Waver Basics Comparison
Frequently Asked Questions
Can you use a hair waver on short hair? Yes, choose a smaller barrel size and use smaller sections for the best hold on short hair.
How long should you hold a hair waver? Usually three to five seconds per section, depending on your hair type and thickness.
Should hair be wet or dry before using a hair waver? Hair should always be completely dry before styling to avoid damage and get a lasting wave.
How do you make beach waves last longer? Use texture spray and avoid brushing your waves too much once they are set.
Is a hair waver better than a curling iron? A hair waver is easier for creating consistent beach waves, especially for beginners.
What temperature should I use on a hair waver? Fine hair works best around 300 to 320 degrees Fahrenheit, while thick hair may need up to 380 degrees.
Do I need a heat protectant spray before using a hair waver? Yes, a heat protectant shields your strands from damage and helps the tool glide smoothly.
How many sections should I split my hair into? Four to six sections work well for most hair lengths and thicknesses.
Can I use a hair waver every day? It is better to limit heat styling to a few times a week to avoid drying out your hair.
Why do my waves fall out quickly? This usually happens from touching your hair too soon, brushing it, or using too little texture spray.
Hair Waver Basics vs Curling Iron
About the Author
Emma Collins is a hair and beauty writer who loves testing styling tools and sharing simple, practical tips for everyday hair care. She focuses on making professional looking hairstyles achievable at home for readers of all skill levels.
