
Introduction
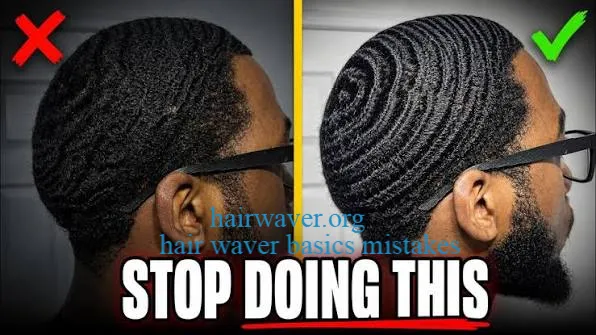
Your waves never look quite right. They fall flat within an hour. One side looks perfect while the other looks crimped and stiff. Sound frustrating? You are probably making one or more of the most common hair waver basics mistakes that thousands of people repeat every single day without even realizing it.
The hair waver is one of the most forgiving styling tools available. Yet even this beginner-friendly tool produces disappointing results when used incorrectly. The gap between mediocre waves and gorgeous, salon-quality results comes down to a handful of specific mistakes that are surprisingly easy to fix once you know what they are.
This article covers every major hair waver basics mistake you need to stop making immediately. You will learn the correct temperature settings for different hair types, how long to clamp each section, why wet hair and heat never mix, which type of waver suits your hair, and how heat protectant spray protects your strands. By the end, your wave game will improve dramatically.
Mistake 1: Using Your Hair Waver on Wet or Damp Hair
This is the single most damaging hair waver mistake you can make. Wet hair and high heat create steam inside the hair shaft. That steam expands rapidly and breaks down the internal protein structure of each strand. The result is brittle, weakened hair that snaps easily and loses its natural elasticity over time.
Even slightly damp hair is dangerous. You do not need soaking wet hair to cause damage. Hair that feels mostly dry but retains five to ten percent moisture is still at risk. Always ensure your hair is completely and thoroughly dry before reaching for any heated styling tool. source: Twist Me Pretty
How to check if your hair is ready:
- Run your fingers through every section, not just the surface
- Check the hair closest to your scalp, this area dries last
- Blow dry on a cool setting for two minutes if you are uncertain
- Wait an additional ten minutes after blow drying before using your hair waver
I learned this the hard way years ago when I noticed my ends felt like straw after styling. The culprit was always starting too soon after washing. Adding one extra drying step changed my results completely.
Mistake 2: Skipping Heat Protectant Spray
Skipping heat protectant spray is like driving in rain without windshield wipers. You might get away with it occasionally, but the damage accumulates invisibly until the consequences become obvious. A quality heat protectant spray creates a thermal barrier on each strand that reduces direct heat exposure by up to 450 degrees of effective transfer.
Heat protectant spray works by coating the hair’s outer cuticle layer with protective polymers. These polymers absorb and distribute heat more evenly, preventing concentrated hot spots from frying individual sections of hair.
Apply heat protectant spray to towel-dried hair before blow drying and again before using your hair waver on completely dry hair. Two applications give you maximum protection throughout the entire styling process.
Correct application technique: hairwaver
- Hold the bottle eight to ten inches from your hair
- Spray evenly from mid-length to ends, not directly at the scalp
- Work through with your fingers to distribute evenly
- Allow thirty seconds to absorb before styling
- Reapply to any section that you restyle or return to during your session
Mistake 3: Using the Wrong Temperature for Your Hair Type
Temperature is where most people go wrong with a hair waver. Many people simply set their tool to maximum heat because they assume hotter means faster results. This approach causes serious damage to fine and color-treated hair while also producing stiff, unnatural-looking waves on almost every hair type.
Different hair types require genuinely different temperature ranges. Here is the breakdown every hair waver user needs to know:
| Hair Type | Correct Temperature Range |
|---|---|
| Fine or Thin Hair | 300 to 330 degrees Fahrenheit |
| Normal or Medium Hair | 340 to 375 degrees Fahrenheit |
| Thick or Coarse Hair | 375 to 410 degrees Fahrenheit |
| Color-Treated Hair | 300 to 340 degrees Fahrenheit |
| Natural or Textured Hair | 350 to 400 degrees Fahrenheit |
Always start five to ten degrees lower than you think you need. You can increase temperature gradually if the waves are not forming properly. You cannot undo heat damage once it occurs.
Mistake 4: Clamping Each Section for Too Long or Too Short
How long you hold the clamp is one of the most overlooked hair waver basics mistakes. Both extremes cause problems. Clamping too briefly produces waves that fall out within thirty minutes. Clamping too long causes heat damage and creates stiff, unnatural bends that look more like a crimp than a wave.
The correct hold time depends on your hair type and temperature setting. Here is a simple guide:
- Fine hair at lower temperatures: Three to four seconds per section
- Normal hair at medium temperatures: Five to six seconds per section
- Thick or coarse hair at higher temperatures: Six to eight seconds per section
Count out loud when you are learning. This sounds simple but it genuinely prevents the common mistake of losing track of time mid-section. Consistent timing across all sections creates uniform waves that look intentional and polished.
Mistake 5: Choosing the Wrong Type of Hair Waver
Not all hair wavers are created equal. Choosing the wrong barrel material for your hair type creates uneven heat distribution, increased frizz, and disappointing results regardless of your technique. hairwaver
Ceramic Hair Waver
A ceramic hair waver heats evenly and maintains consistent temperature throughout the barrel surface. Ceramic distributes heat gently, making it ideal for fine, thin, or damaged hair. The smooth surface also helps reduce frizz and add shine. If you have heat-sensitive hair or are new to styling tools, a ceramic hair waver is your safest and most forgiving option.
Tourmaline Hair Waver
A tourmaline hair waver is coated with crushed tourmaline gemstone that generates negative ions when heated. These negative ions neutralize the positive ions in frizzy, dry hair, effectively sealing the cuticle and reducing frizz dramatically. A tourmaline hair waver works exceptionally well for naturally frizzy hair or anyone styling in humid conditions where frizz control is a priority.
Titanium Hair Waver
A titanium hair waver heats faster and reaches higher temperatures than ceramic or tourmaline options. This makes it the preferred choice for thick, coarse, or very resistant hair that does not respond well to standard heat levels. However, a titanium hair waver requires more careful temperature management. It heats so efficiently that even a few seconds at excessive temperature can cause damage to finer hair types.
Choosing your correct waver type:
- Fine or damaged hair: Ceramic hair waver
- Frizzy or humidity-prone hair: Tourmaline hair waver
- Thick or coarse hair: Titanium hair waver
- Mixed or normal hair: Ceramic or tourmaline hair waver
Mistake 6: Taking Sections That Are Too Large
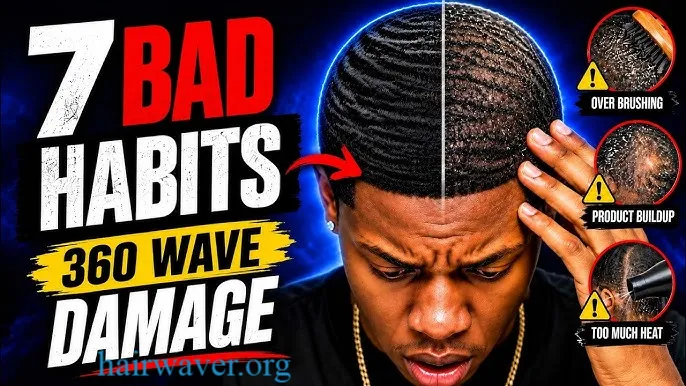
Oversized hair sections are a classic hair waver basics mistake that produces flat, undefined waves. When too much hair sits between the barrels at once, the heat cannot penetrate evenly to all strands. The outer layers wave while the inner layers barely receive any heat at all.
Ideal section width for a hair waver sits between one and two inches depending on your hair’s thickness. Take one-inch sections for thicker hair. Take slightly wider sections for fine hair where the heat penetrates more easily.
Here is a quick section test: If you can see hair folding over itself inside the barrel, your section is too large. If the section looks sparse and barely fills the barrel, it is too small. The section should sit snugly without crowding.
Mistake 7: Touching Waves Before They Cool
Releasing a section from your hair waver and immediately running your fingers through it destroys the wave pattern before it sets. Heat styling works by temporarily breaking hydrogen bonds inside the hair. These bonds reform as the hair cools. Disturbing the wave during cooling prevents the bonds from setting in the new shape.
After releasing each section from the waver, allow it to cool completely before touching. For best results, wait until you have completed your entire head before touching any of the waves. This patience produces waves that last significantly longer throughout the day.
If you need faster cooling between sections, gently clip each freshly waved section to your head with a sectioning clip. The clip holds the wave pattern in place while it sets without you touching it.
Expert Tips to Fix Your Technique Right Now
These five adjustments produce immediate improvement in your results: source: Instagram · jairdoeshair
- Always work with completely dry hair before reaching for your hair waver
- Apply heat protectant spray generously before every single styling session
- Set your temperature based on your specific hair type, not personal preference for heat
- Count your clamp time out loud until consistent timing becomes automatic
- Let all waves cool completely before touching or styling further
Conclusion
Hair waver basics mistakes are extremely common and entirely fixable. The gap between disappointing waves and beautiful, long-lasting results comes down to a handful of specific habits. Using your hair waver on dry hair, applying heat protectant spray every time, selecting the right temperature, counting your clamp time, choosing the correct waver type, and keeping sections a manageable size are the foundational changes that transform your results.
None of these fixes require expensive tools or professional training. They require awareness and consistency. Once these habits become automatic, the quality of your waves improves permanently.
Which of these hair waver basics mistakes were you making without realizing it? Share your experience in the comments and let us know which fix made the biggest difference for your waves.
FAQs
1. What are the biggest hair waver mistakes? The most damaging mistakes include styling damp or wet hair, skipping heat protectant spray, using incorrect temperatures, clamping sections too long or too short, taking oversized sections, and touching waves before they cool fully. Each mistake independently affects results and hair health.
2. Can a hair waver damage your hair? Yes, when used incorrectly. Styling wet hair, using excessive heat, or holding the clamp too long causes protein breakdown, split ends, and breakage. Using correct temperature, heat protectant spray, and proper technique minimizes damage significantly and keeps hair healthy long term.
3. Should hair be wet or dry before using a hair waver? Always completely dry. Wet or damp hair creates steam inside the hair shaft when heated, breaking down the internal protein structure. Even slightly damp hair is at risk. Wait until hair is fully dry including the sections closest to the scalp before beginning.
4. What temperature is best for a hair waver? Temperature depends on hair type. Fine hair requires 300 to 330 degrees Fahrenheit. Normal hair suits 340 to 375 degrees. Thick or coarse hair needs up to 410 degrees. Color-treated hair should stay between 300 and 340 degrees. Always start lower than you think necessary.
5. How long should you clamp each section? Fine hair needs three to four seconds. Normal hair needs five to six seconds. Thick or coarse hair needs six to eight seconds. Count aloud while learning to maintain consistency. Consistent clamping time across all sections is what creates uniform waves throughout your entire head.
6. What is the difference between ceramic, tourmaline, and titanium hair wavers? A ceramic hair waver heats evenly and gently, ideal for fine or damaged hair. A tourmaline hair waver generates negative ions that reduce frizz dramatically, best for frizzy or humidity-prone hair. A titanium hair waver heats fastest to the highest temperatures, suited for thick and very coarse hair.
7. Why do my waves fall out so quickly? Waves fall flat when hair is even slightly damp during styling, when clamping time is too short, or when waves are touched before fully cooling. Increasing your clamping time by two seconds and allowing complete cooling before touching waves extends hold significantly throughout the day.
8. Is heat protectant spray really necessary? Absolutely. Heat protectant spray creates a thermal barrier that reduces direct heat impact on the hair cuticle by a significant margin. Styling repeatedly without protection accumulates damage that becomes visible as increased breakage, dryness, and split ends over weeks and months.
9. What size sections should I use with a hair waver? One to two inch sections work best for most hair types. Thick hair needs one-inch sections for even heat penetration. Fine hair can handle slightly wider sections. Hair folding inside the barrel means your section is too large. Consistent section sizing creates more uniform waves throughout your head.
10. Why does one side of my hair wave better than the other? Inconsistent results between sides usually come from inconsistent section size, clamping time, or tool angle. Try mirroring your technique exactly between both sides. Use the same size sections and the same count for each clamp. Ensuring both sides of your hair are equally dry before starting also reduces this common issue.
About the Author : Sofia Lane is a licensed cosmetologist and beauty writer with over nine years of experience working in professional salons across New York and Los Angeles. She specializes in modern hair styling techniques, hair care education, and salon tool reviews. Sofia believes that every person deserves access to professional-level hair knowledge without needing a salon appointment. When she is not writing or styling, she teaches hair waving and texturing workshops for aspiring stylists and everyday clients.
email: johanharwen@314gmail.com
Author Name: Sofia Lane
