
Introduction
You scroll through your feed and see those effortless, flowing mermaid waves everywhere. Then you try recreating them at home and end up with frizzy, uneven curls instead. Learning hair waver basics mermaid waves changes everything once you understand the right technique and tools.
A hair waver is not the same as a curling iron, and that difference matters more than most people realize. Once you understand how this tool works, mermaid waves become surprisingly achievable, even for total beginners. This guide breaks down everything you need, from choosing the right barrel size to styling your finished waves like a professional.
By the end, you will understand exactly what a hair waver does, how to create mermaid waves confidently, and which techniques actually deliver salon quality results at home.
What Is a Hair Waver?
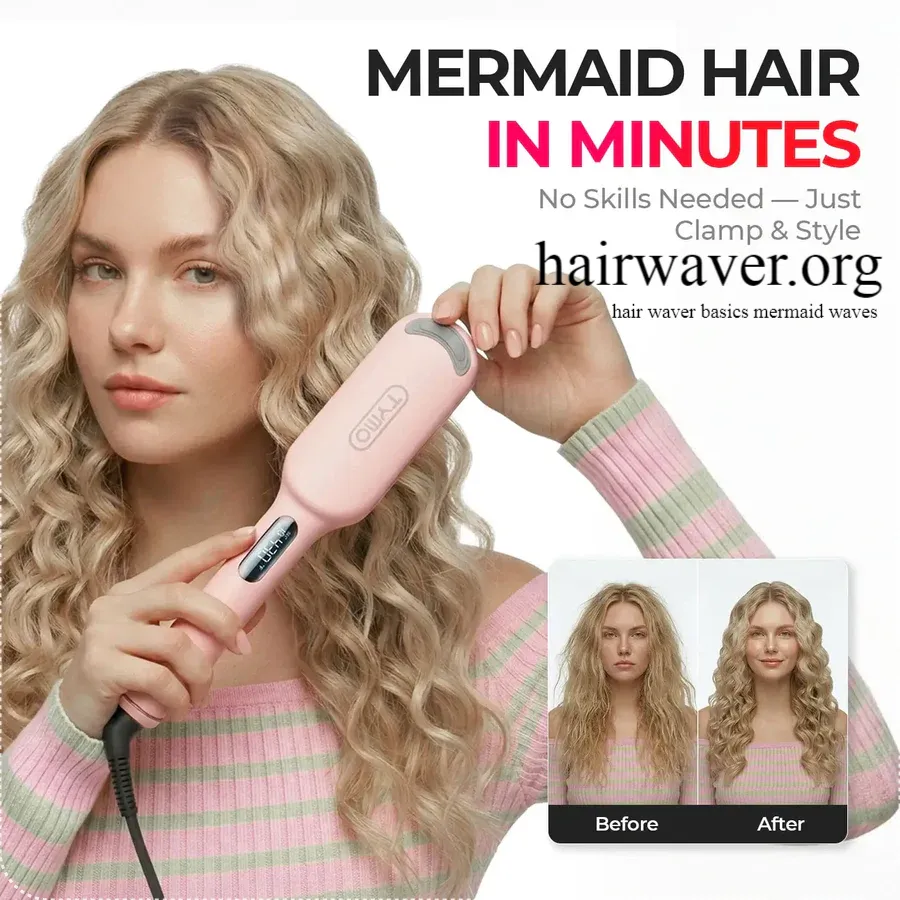
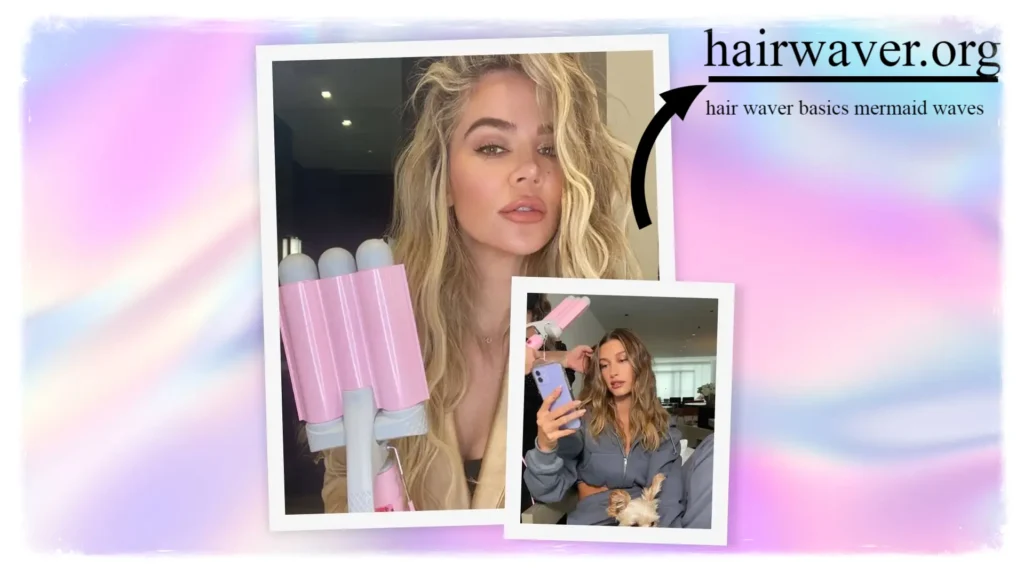
A hair waver is a styling tool designed specifically to create S shaped waves rather than tight, uniform curls. Unlike a traditional curling iron, most wavers feature two or three barrels arranged together. This design presses hair into a natural, undulating pattern instead of wrapping it around one single rod.
The result looks less like a curl and more like naturally wavy hair. Many wavers also skip the clamp entirely. You simply feed sections of hair through the barrels, and the tool does the shaping for you. This makes wavers genuinely beginner friendly compared to traditional curling irons.
Most hair wavers heat between 300 and 400 degrees Fahrenheit. Ceramic and tourmaline plates are common because they distribute heat evenly and reduce frizz. If you have never used one before, understanding these hair waver basics mermaid waves gives you a strong starting point before you even plug the tool in.
How Do You Make Mermaid Waves?
Step One: Prep Your Hair Properly
Start with clean, dry hair. Damp hair damages easily under high heat, so always work with fully dry strands. Apply a heat protectant spray evenly through your hair before styling. This single step prevents split ends and dryness over time.
Step Two: Section Your Hair
Divide your hair into four to six sections using clips. Smaller sections create more defined waves. Larger sections create looser, more relaxed waves. Choose based on the finished look you want.
Step Three: Feed Hair Through the Waver
Starting about one inch from your roots, open the waver and place a section of hair between the barrels. Close the tool and hold for five to eight seconds. Release and move down the strand, repeating until you reach the ends.
Step Four: Alternate Direction for Natural Movement
For the most realistic mermaid wave look, alternate the direction of your sections. Wave some sections away from your face and others toward it. This variation mimics how hair naturally falls and prevents that overly styled, uniform appearance.
Step Five: Cool and Finish
Let your waves cool completely before touching them. Once cool, run your fingers through gently to loosen the pattern. Finish with a light texturizing spray or sea salt spray to enhance that beachy, mermaid finish. hairwaver
Are Mermaid Waves Better Than Beach Waves?
This comparison comes up constantly, and honestly, it depends entirely on the look you are going for. Both styles use similar tools, but the technique and final texture differ noticeably.
| Feature | Mermaid Waves | Beach Waves |
|---|---|---|
| Texture | Smooth, flowing, defined S shapes | Tousled, undone, slightly messy |
| Tool | Hair waver with multiple barrels | Curling wand or flat iron |
| Finish | Polished yet natural | Effortless, lived in |
| Best For | Formal events, photos, special occasions | Casual days, everyday wear |
| Hold | Lasts longer with defined pattern | Loosens faster, more relaxed |
Mermaid waves tend to look more intentional and polished. Beach waves lean into imperfection and texture. Neither is objectively better. I personally reach for mermaid waves when I want something that photographs beautifully, and beach waves when I want a quick, low effort style. source: Instagram · natgeebeauty
Can Beginners Use a Hair Waver?
Yes, and this is genuinely one of the biggest advantages of these tools. Traditional curling irons require you to wrap hair carefully around a barrel while avoiding burns and keeping tension even. A hair waver removes most of that difficulty.
Since you simply feed hair through the barrels, there is far less room for uneven results. Beginners typically see better outcomes on their very first try compared to using a standard curling wand. That said, a few common beginner mistakes still show up.
Common beginner mistakes to avoid: source: GHD
- Holding the waver in one spot for too long, which causes crimped lines
- Using sections that are too thick, resulting in undercooked waves
- Skipping heat protectant, which leads to dryness and frizz
- Styling hair immediately after curling instead of letting it cool first
Avoiding these four mistakes puts you ahead of most first time users. Practice on a few sections before committing to your entire head, and your confidence will build quickly.
Which Barrel Size Creates the Best Mermaid Waves?
Barrel size dramatically changes your finished look, so this decision matters more than people expect. Here is a simple breakdown to help you choose.
| Barrel Size | Wave Type | Best Hair Length |
|---|---|---|
| 19mm to 25mm | Tight, defined waves | Short to medium hair |
| 32mm | Classic mermaid waves | Medium to long hair |
| 38mm and up | Loose, flowing waves | Long hair |
For that quintessential mermaid look, a 32mm barrel tends to be the sweet spot for most hair lengths. It creates waves that are defined without looking overly crimped. If your hair is particularly long or thick, sizing up slightly gives the waves room to move naturally.
Shorter hair often looks better with a smaller barrel since larger barrels may not have enough length to grip properly. Testing different sizes on a small section first helps you find your personal match before committing to a full style.
Pros and Cons of Using a Hair Waver
Pros
- Creates consistent, even waves with minimal skill required
- Faster styling time compared to traditional curling methods
- Works well on most hair types and lengths
- Produces a natural, flowing texture rather than tight curls
- Beginner friendly design reduces styling mistakes
Cons
- Can create visible lines or crimps if used incorrectly
- Limited styling versatility compared to a curling wand
- Higher upfront cost for quality ceramic or tourmaline models
- Heat damage risk increases without proper protectant
Weighing these factors honestly helps you decide if a hair waver fits your styling routine. For anyone chasing that mermaid wave trend specifically, the pros generally outweigh the cons by a wide margin. hairwaver
Expert Styling Tips for Longer Lasting Waves
Professional stylists rely on a few tricks that make a real difference in how long your waves hold up throughout the day.
- Use a heat setting matched to your hair type. Fine hair needs lower heat around 300 degrees, while thick or coarse hair can handle up to 400 degrees.
- Wave hair in small sections. Thinner sections hold their shape longer than thick chunks of hair.
- Pin curls while cooling. Clipping each wave against your scalp as it cools locks the pattern in place before it has a chance to relax.
- Apply dry shampoo at the roots before styling. This adds texture and grip, helping the wave hold better throughout the day.
- Finish with a light hairspray, not a heavy one. Heavy products weigh down the wave pattern and flatten your finished look.
These small adjustments make a noticeable difference between waves that fall flat by noon and waves that last well into the evening.
Conclusion
Mastering hair waver basics mermaid waves really comes down to understanding your tool, choosing the right barrel size, and following a consistent technique. Once you get comfortable with the process, creating salon worthy mermaid waves at home becomes second nature.
Start with proper prep, section your hair thoughtfully, and remember that alternating direction is what makes the final result look natural rather than staged. Whether you are a total beginner or refining your technique, these hair waver basics mermaid waves give you everything needed to create beautiful, flowing waves.
What barrel size are you planning to try first? Share your favorite mermaid wave routine, and pass this guide along to a friend who is still fighting with their curling iron.
FAQs
1. What is the difference between a hair waver and a curling iron?
A hair waver uses multiple barrels to create an S shaped wave pattern, while a curling iron uses one barrel that you wrap hair around to form a curl. Wavers tend to be faster and more beginner friendly.
2. How long do mermaid waves typically last?
With proper prep and finishing products, mermaid waves can last twelve to eighteen hours. Fine hair may need touch ups sooner, while thicker hair often holds the style longer.
3. Can I use a hair waver on short hair?
Yes, though smaller barrel sizes work best on shorter lengths. Hair needs enough length to wrap properly around or between the barrels for the wave to form correctly.
4. Do I need heat protectant with a hair waver?
Absolutely. Hair wavers reach high temperatures, and skipping heat protectant increases your risk of dryness, breakage, and split ends over time.
5. Why do my waves look crimped instead of smooth?
Crimped lines usually happen when you hold the waver in one spot too long or use sections that are too thick. Moving the tool steadily down the strand helps prevent this issue.
About the Author : Jenna Collins is a licensed hairstylist with eight years of experience specializing in heat styling and texture work. She has helped hundreds of clients master waves, curls, and everyday styling routines at her salon studio. Jenna enjoys breaking down professional techniques into simple steps anyone can follow at home.
email: johanharwen@314gmail.com
Author Name: Jenna Collins
