Introduction
You finally got that gorgeous hair waver you have been eyeing. You plug it in, run it through your hair, and end up with frizzy, brittle strands instead of the beachy waves you imagined. Sound familiar?
Learning how to use a hair waver without damaging hair is the difference between a good hair day and a hair nightmare. The good news is that it is not complicated once you know the right steps.
According to the American Academy of Dermatology, heat is one of the top causes of hair breakage and damage. But that does not mean you have to give up styling. It means you need to style smarter.
In this guide, you will learn everything: heat settings, prep work, the right technique, and aftercare that actually works. Whether you are a beginner or have been waving your hair for years, these tips will help you get beautiful results without sacrificing your hair’s health.
What Is a Hair Waver and Why Does It Matter?
A hair waver is a styling tool with multiple barrels that creates a crimped or wavy pattern in your hair. Unlike a curling iron, which creates individual curls, a waver gives you that effortless, ocean-inspired wave look.
The most common types are:
- Three-barrel wavers for defined, uniform waves
- Two-barrel wavers (deep wavers) for more dramatic bends
- Mini wavers for shorter hair or face-framing sections
Each type works differently, but the rules for protecting your hair stay the same.
Why Hair Wavers Can Cause Damage (And How to Avoid It)
Here is the hard truth. Heat styling at the wrong temperature or without proper prep literally breaks down the protein bonds in your hair. This is what causes that dry, straw-like texture after repeated heat use.
The main culprits are:
- Using heat that is too high for your hair type
- Skipping heat protectant
- Holding the tool in one spot too long
- Styling already-damaged or dry hair
The great news is that every single one of these is 100% preventable.
Step-by-Step: How to Use a Hair Waver Without Damaging Hair
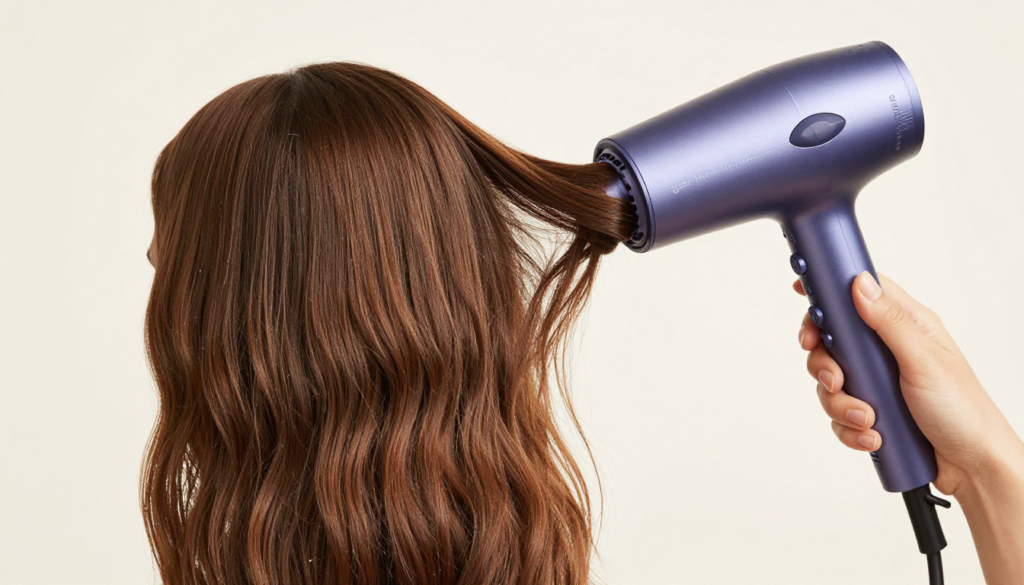
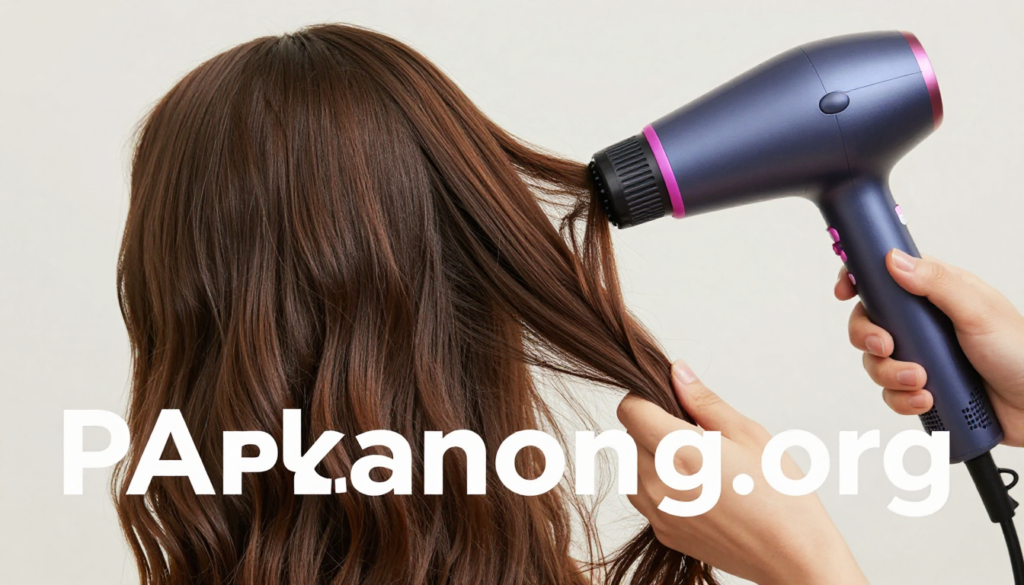
Step 1: Start with Clean, Dry Hair
Always start with clean, fully dry hair. Applying heat to damp hair is one of the fastest ways to cause serious damage. Water heats up instantly inside the hair shaft, essentially “boiling” it from the inside.
If you washed your hair, wait until it is completely air-dried or blow-dry it on a cool or medium setting first.
Image Description 1: A woman blow-drying her hair with a diffuser attachment, preparing it for heat styling. Her hair looks smooth and healthy.
Step 2: Apply a Quality Heat Protectant
This step is non-negotiable. A heat protectant creates a barrier between the hot tool and your hair shaft. Think of it like sunscreen for your hair.
Look for a product that protects up to at least 450°F, even if you do not plan to use that temperature. Popular ingredients to look for include:
- Dimethicone (coats the hair shaft)
- Keratin (repairs and strengthens)
- Argan oil (adds moisture and shine)
Spray or apply it evenly from mid-lengths to ends. Do not skip the ends since they are the oldest and most fragile part of your hair.
Image Description 2: Close-up of hands spraying heat protectant evenly through sections of hair before using a waver tool.
Step 3: Choose the Right Heat Setting for Your Hair Type
This is where most people go wrong. Higher heat does not mean better waves. It means more damage, especially if your hair is fine or color-treated.
Here is a simple guide:
| Hair Type | Recommended Temperature |
|---|---|
| Fine or damaged hair | 250°F to 300°F (120°C to 150°C) |
| Normal or medium hair | 300°F to 350°F (150°C to 175°C) |
| Thick or coarse hair | 350°F to 400°F (175°C to 200°C) |
| Color-treated or bleached | 250°F to 320°F (120°C to 160°C) |
Always start at a lower temperature and work your way up if needed. Your hair will thank you.
Step 4: Section Your Hair Properly
Working in sections is the secret to even, long-lasting waves. It also means you spend less time going over the same sections repeatedly, which protects your hair.
Here is how to do it:
- Clip the top half of your hair up and out of the way.
- Start at the nape of your neck with the bottom sections.
- Take sections that are about 1 to 2 inches wide.
- Work your way up in layers.
Thicker sections create loose, beachy waves. Thinner sections create more defined, tight waves. Choose based on the look you want.
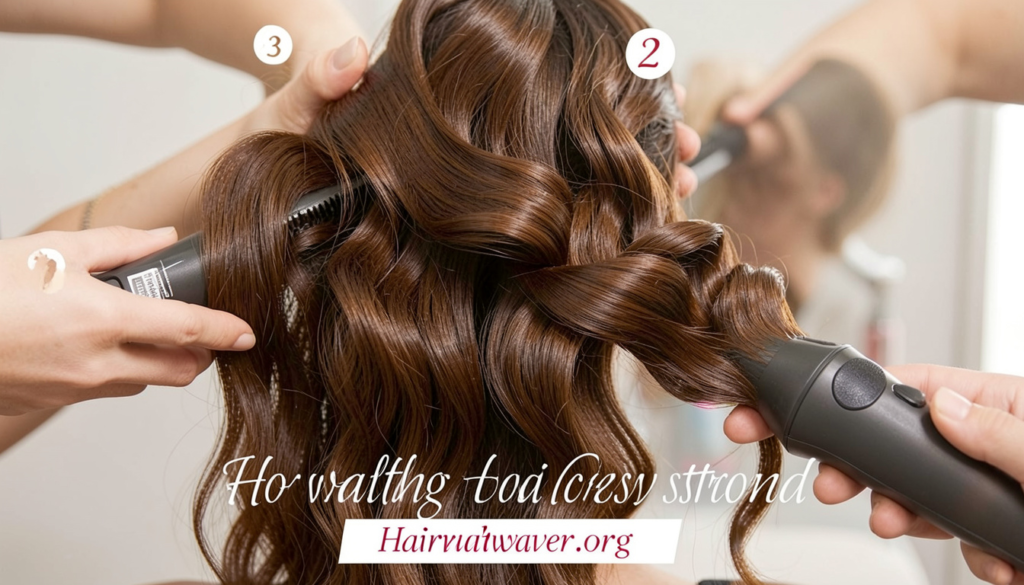
Step 5: Use the Right Technique with Your Hair Waver
Now for the actual waving. The technique matters more than most people realize.
Here is the correct method:
- Open the waver clamp and slide a section of hair in near the roots (but leave about an inch of root untouched for a natural look).
- Close the clamp gently but firmly.
- Hold for 5 to 10 seconds. No longer.
- Open and slide down the hair shaft, overlapping slightly with the next section.
- Repeat until you reach the ends.
Do not clamp too hard. Do not hold too long. Both lead to unnecessary heat exposure.
Pro tip from experience: I found that holding each section for just 7 seconds on medium heat gave me the most consistent, healthy-looking waves without any crunch or dryness.
Step 6: Do Not Touch the Waves Until They Cool
This is the step that separates a good wave from a great one. When you release each section from the waver, the wave is still forming. If you touch it, run your fingers through it, or brush it, you break the wave pattern.
Let each section cool completely before you move on to the next styling step. This also locks the wave in place and makes it last significantly longer.
Step 7: Finish with the Right Products
Once your waves are cool, you can set them with a finishing product. Choose based on your hair’s needs:
- Lightweight hair oil for shine and frizz control
- Texturizing spray for that undone, beachy feel
- Light-hold hairspray if you want waves to last all day
Avoid heavy creams or serums, which can weigh your waves down and make them look greasy.
Common Mistakes That Damage Your Hair While Waving
Even with the right tools, small mistakes add up over time. Here are the most common ones to watch out for:
Going over the same section twice. If your wave did not turn out perfect on the first pass, resist the urge to immediately redo it. Let it cool, then try again if needed. Double heat exposure on a single section is a fast track to breakage.
Using a waver on tangled hair. Always detangle your hair before you style. Dragging a hot tool through knots pulls and breaks the hair. Use a wide-tooth comb or a paddle brush before you begin.
Neglecting regular deep conditioning. Heat styling regularly means your hair needs more moisture than usual. Aim for a deep conditioning mask at least once a week.
Skipping the cool-down phase. Your hair continues forming its shape for several seconds after you release the clamp. Give it time.
Using a waver on soaking wet hair. Even if the packaging says it works on wet hair, always prioritize dry styling for minimum damage.
How Often Can You Safely Use a Hair Waver?
This is one of the most frequently asked questions, and the honest answer is: it depends on your hair type.
As a general guideline:
- Fine or damaged hair: No more than 1 to 2 times per week
- Normal hair: 2 to 3 times per week
- Thick or coarse hair: Up to 3 to 4 times per week
On your off days, use heatless waving methods like braiding damp hair overnight or using foam rollers. Your hair gets the style without the stress.
Best Practices for Long-Term Hair Health
Using a hair waver without damaging hair is not just about one session. It is about building smart habits over time.
Here are a few practices worth building into your routine:
Invest in a good quality waver. Cheap tools often have inconsistent heat distribution, which means hot spots that burn your hair. Look for tools with ceramic, tourmaline, or titanium plates and a reliable temperature control.
Trim your ends regularly. Heat styling causes split ends over time. Getting a trim every 6 to 8 weeks keeps your hair looking healthy and prevents split ends from traveling up the shaft.
Stay hydrated and eat a balanced diet. Hair health starts from the inside. Protein, iron, biotin, and omega-3 fatty acids all contribute to stronger, more resilient hair.
Use a wide-tooth comb, not a brush, on wavy hair. Brushing waves can cause frizz and breakage. Use your fingers or a wide-tooth comb to gently separate waves once they have set.
Quick Reference: Pre-Styling Checklist
Before you pick up your waver, run through this quick checklist:
- Hair is completely dry
- Heat protectant has been applied and absorbed
- Hair is fully detangled
- Waver is set to the correct temperature for your hair type
- Hair is sectioned and clipped
- Timer or phone is nearby to keep track of hold time
Having a system makes the whole process faster and safer.
Conclusion
Learning how to use a hair waver without damaging hair comes down to a few key habits: prep your hairproperly, always use heat protection, choose the right temperature, use good technique, and give your hair the aftercare it deserves.
It is not about sacrificing gorgeous waves for healthy hair. You can absolutely have both. The difference is in the details.
Now that you have the full picture, which of these steps will you try first? If you found this guide helpful, share it with a friend who loves styling their hair, or drop your questions in the comments. We would love to hear how your waves turn out.
FAQs: How to Use a Hair Waver Without Damaging Hair
Q1: Can I use a hair waver on wet hair? You should always style dry hair. Applying heat to wet or damp hair causes extreme damage because water inside the hair shaft heats rapidly and breaks down the internal structure. Blow-dry your hair first, then wave it.
Q2: What temperature is safest for fine hair? For fine or fragile hair, stay between 250°F and 300°F (120°C to 150°C). Fine hair is more prone to heat damage and does not need high heat to hold a wave.
Q3: How long should I hold the waver on each section? Hold for 5 to 10 seconds per section. Anything longer than 10 seconds increases your risk of heat damage without significantly improving the wave.
Q4: Is a ceramic or titanium waver better for hair health? Ceramic wavers are generally gentler on hair because they distribute heat more evenly and reduce hot spots. Titanium heats up faster and is better for very thick or coarse hair. For most people, ceramic is the safer and more hair-friendly choice.
Q5: Do I need heat protectant even on low heat settings? Yes. Even at 250°F, your hair is exposed to significant heat. A heat protectant should be a non-negotiable part of your routine regardless of the temperature setting you use.
Q6: How do I make my waves last longer without re-heating? Let waves cool completely before touching them. Use a light-hold hairspray or texturizing spray to set the style. Sleep with your hair in a loose braid or a silk cap to preserve the waves overnight.
Q7: Can I use a hair waver on color-treated hair? Yes, but with extra care. Color-treated hair is more porous and prone to dryness, so use a lower temperature (250°F to 320°F), always apply a heat protectant, and deep condition regularly.
Q8: What is the difference between a hair waver and a crimper? A crimper creates a zigzag or tight crimped pattern, while a hair waver creates a smooth, flowing S-shaped wave. Both use heat but produce very different textures.
Q9: How do I avoid frizz after using a hair waver? Apply a small amount of lightweight hair oil or anti-frizz serum to your palms and lightly smooth over your waves. Avoid touching your hair too much while it is still warm. Also ensure your hair was fully dry before styling.
Q10: Can I use a hair waver every day? Daily heat styling is not recommended for any hair type. It strips moisture and weakens the hair shaft over time. Aim for 2 to 3 times per week maximum, and use heatless methods on other days.
Read More….
Author Bio
Sarah Mitchell is a certified cosmetologist and beauty writer with over 10 years of experience in hair care, styling, and wellness. She has contributed to leading beauty publications and regularly shares practical, science-backed hair advice for everyday readers. When she is not writing, she is experimenting with the latest styling tools in her home salon.