You bought a hair waver, stared at it on your bathroom counter for three days, and now you are wondering if you made a mistake. You did not. Knowing how to use a hair waver for beginners is actually much simpler than it looks, and with the right technique, you can go from flat, lifeless hair to soft, beachy waves in under 20 minutes.
I remember holding my first waver and burning my knuckles on the very first try. Nobody told me there was a technique involved. That is exactly why I wrote this guide. Whether you have a triple barrel, a crimper-style waver, or a deep wave tool, this article covers everything you need: heat settings, sectioning, timing, styling tricks, and the mistakes that trip up almost every beginner.
By the time you finish reading, you will know exactly how to get those effortless waves you keep seeing all over your feed.
What Is a Hair Waver and How Does It Work?
A hair waver is a heat styling tool designed to create S-shaped waves in your hair. Unlike a curling iron, which wraps hair around a single barrel, a waver uses multiple barrels (usually three) pressed together to shape the wave pattern directly into each section.
The result is a softer, more relaxed texture, somewhere between a straight blow-out and a full curl. Think mermaid waves, beachy texture, or ’70s-inspired bends, all depending on the size of the barrels and how you use the tool.
Types of Hair Wavers You Might Own
- Triple barrel waver: The most popular beginner option. Creates consistent, uniform S-waves from root to tip.
- Deep waver: Has deeper grooves for more defined, dramatic waves. Great for thicker hair.
- Mini waver: Smaller barrels for tighter waves or for shorter hair.
- Crimping waver: Produces a zigzag pattern for a more textured, editorial look.
- Single barrel waver: Requires a different technique but gives you the most control over wave placement.
💡 Pro Tip
If you are just starting out, a triple barrel waver with 1-inch barrels is your best friend. It is forgiving, fast, and produces a natural-looking wave on most hair types.
What You Need Before You Start
Before you even plug in your waver, you need to prep your hair properly. Skipping this step is the number one reason beginners end up with frizzy, uneven, or damaged results.
Your Pre-Styling Checklist
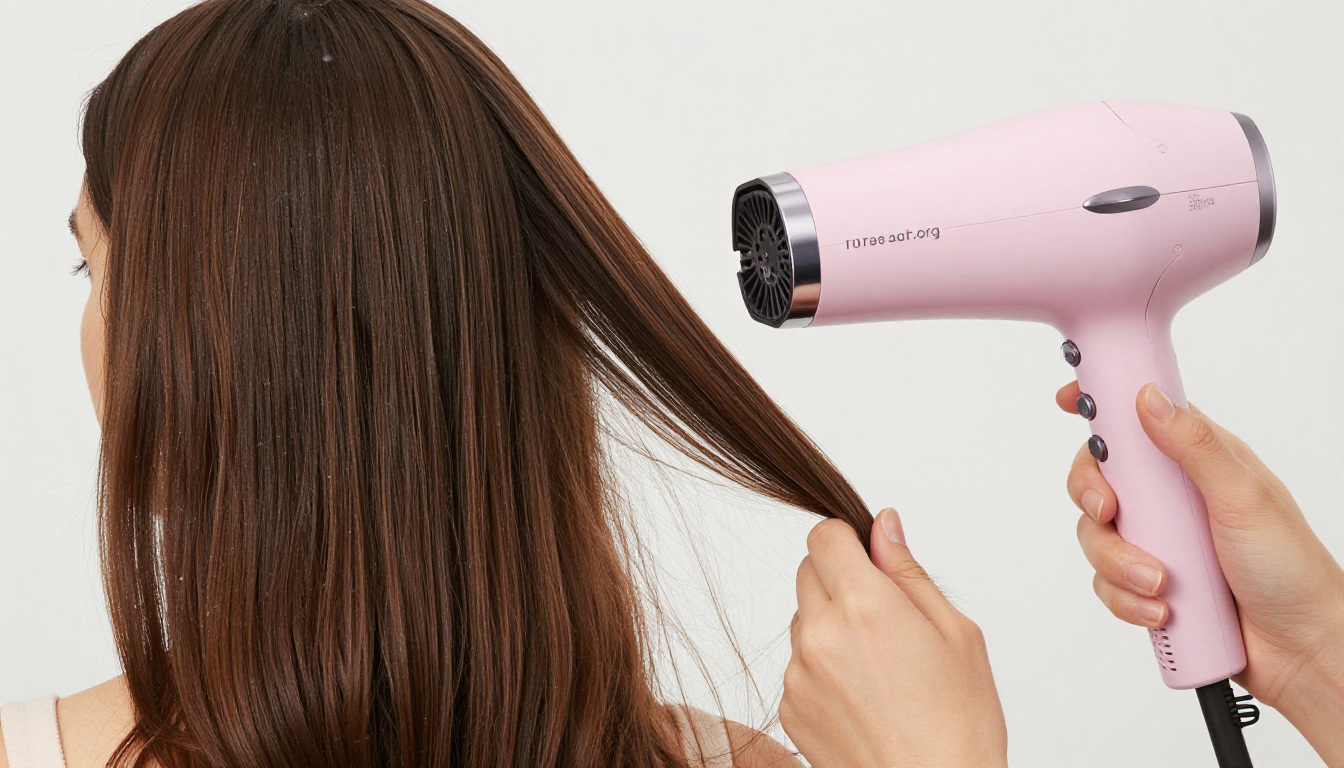
- Clean, dry hair: Always start with completely dry hair. Using a waver on damp hair causes steam damage and uneven waves. Blow dry thoroughly first.
- Heat protectant spray or serum: This is non-negotiable. Apply it evenly through your hair before touching any hot tool. It reduces breakage and keeps your hair healthy long-term.
- A fine-tooth comb or paddle brush: You need to detangle every section before clamping. Tangled hair in a hot waver equals breakage.
- Sectioning clips: Divide your hair into manageable layers. Trying to wave all your hair at once leads to patchy, uneven results.
- A good heat-resistant mat or glove: Especially helpful for beginners who are still getting used to holding the tool at odd angles.
⚠️ Important Warning
Never apply a waver to hair that has been recently bleached without consulting a stylist first. Chemically processed hair is more fragile and requires lower heat and extra protection. Damage from high heat on bleached hair can be permanent.
How to Choose the Right Heat Setting
One of the biggest mistakes beginners make is cranking the heat to the maximum and hoping for the best. Different hair types need different temperatures. Using too much heat causes damage; using too little means your waves fall flat within an hour.
| Hair Type | Recommended Temp | Heat Level |
|---|---|---|
| Fine or thin hair | 250°F – 320°F (120°C – 160°C) | Low |
| Normal / medium hair | 320°F – 380°F (160°C – 195°C) | Medium |
| Thick or coarse hair | 380°F – 430°F (195°C – 220°C) | High |
| Color-treated hair | 300°F – 350°F (150°C – 180°C) | Low–Med |
Always start at the lower end of the range for your hair type, especially on your first few tries. You can increase the heat slightly if the waves are not holding. You cannot undo heat damage once it happens.
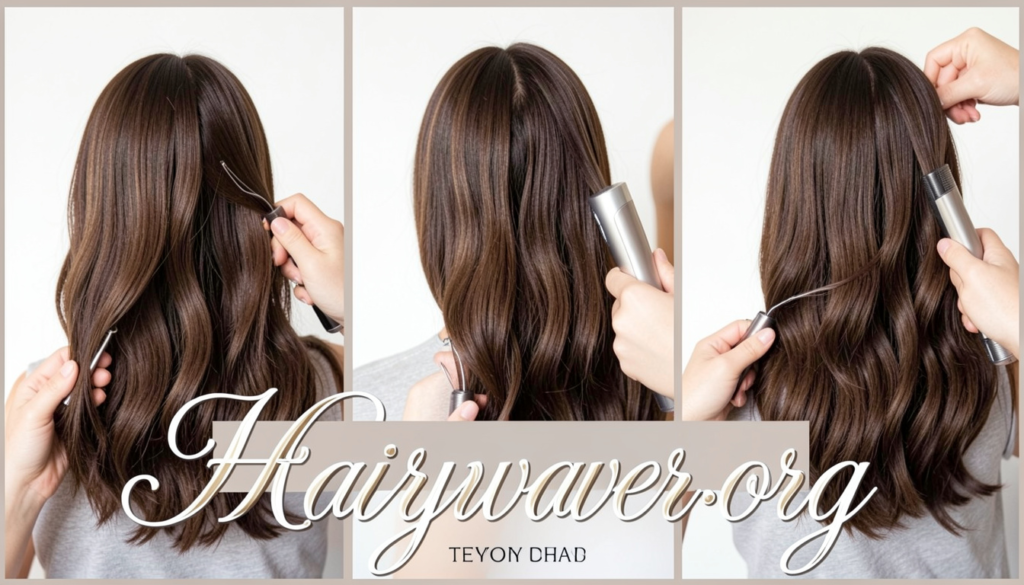
How to Use a Hair Waver for Beginners: Step-by-Step
Now we get to the actual technique. Follow these steps carefully the first few times, and you will start to develop a natural rhythm. Within a week of practice, the whole process will feel second nature.
- Plug in and preheat your waver. Give it at least 30 to 60 seconds to reach your target temperature before you touch it to your hair. Most wavers have an indicator light or a beep that tells you they are ready.
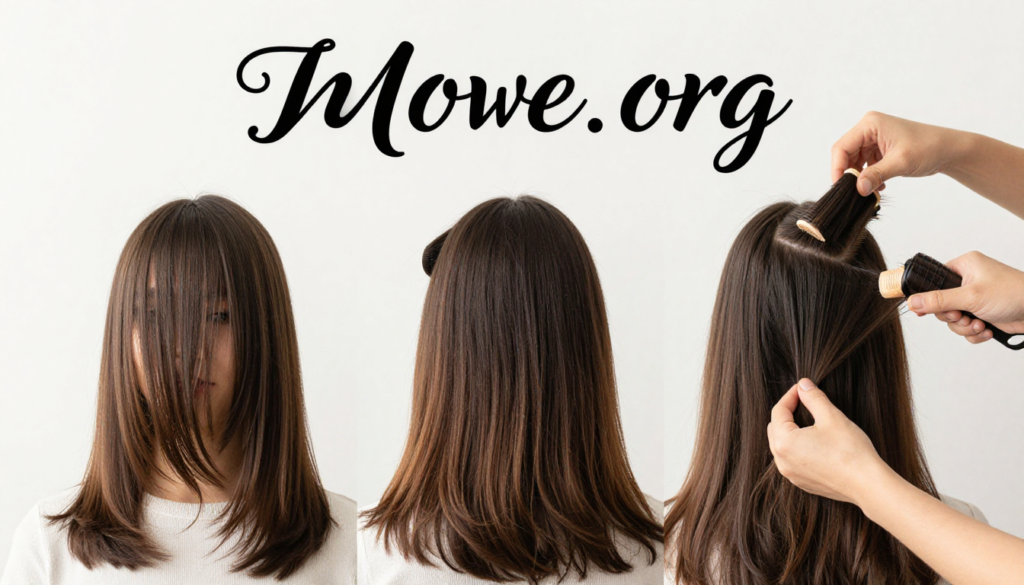
- Section your hair. Clip the top layers up and out of the way. Start with the bottom layer, closest to the nape of your neck. Work in sections that are roughly 1 to 2 inches wide. Wider sections give looser waves; narrower sections give tighter ones.
- Comb through each section. Run a fine-tooth comb through each small section just before waving it. This removes any tangles and ensures even heat distribution.
- Position the waver near the root. Hold the waver horizontally and clamp it onto the hair section, starting about an inch away from your scalp. Avoid clamping directly on the roots if you want a more natural, relaxed look.
- Hold for 5 to 10 seconds. Keep the waver clamped in place without moving it. The exact time depends on your hair thickness and the heat setting. Fine hair needs less time; thick hair needs more. Begin with 5 seconds and adjust from there.
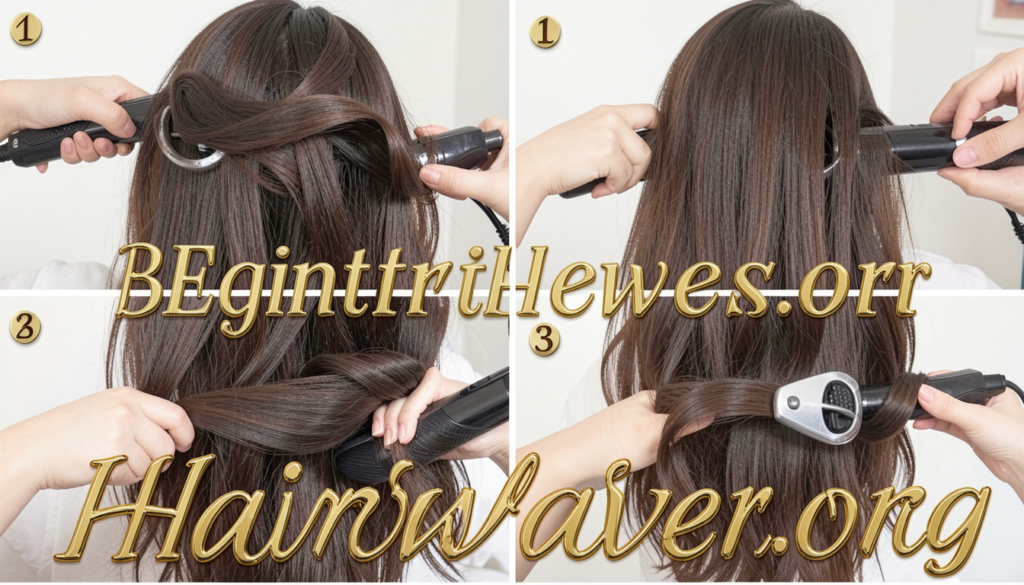
- Slide and clamp down the section. Open the waver, move it down about an inch, and re-clamp. Continue this process down the length of each section until you reach the ends. The clamp-release-slide motion is what creates that beautiful S-wave pattern.
- Release and move to the next section. Let the wave cool slightly before touching it. Then move on. Never brush or touch a fresh wave immediately, as this stretches it out.
- Work your way up to the top layers. Unclip the next layer and repeat the process. The front sections near your face are the most visible, so take extra care with these.
- Finish with a light hold product. Once all sections are done, apply a light-hold hairspray or a texturizing spray to lock in the waves. Avoid heavy products that weigh waves down.
“The clamp-slide-release rhythm is everything. Once you get it, the waves practically style themselves.”
Common Beginner Mistakes (and How to Avoid Them)
Even with a great tool, a few simple errors can ruin your results. Here is what to watch out for:
❌ What Goes Wrong
- Skipping heat protectant
- Using the waver on damp hair
- Taking sections that are too thick
- Holding too long on fine hair
- Brushing waves immediately
- Starting at the same point each time
- Using max heat always
✅ What Actually Works
- Always apply protectant first
- Start only on fully dry hair
- Keep sections 1–2 inches wide
- Start with 5 seconds, adjust up
- Let waves cool before touching
- Vary your starting position each time
- Match heat to your hair type
💡 Personal Tip
I learned this the hard way: vary where you start each section. If you always clamp at the exact same spot near the root, you get a hard, repeated crease in your hair over time. Alternate your starting point by half an inch each session.
How to Make Your Waves Last All Day
Getting the waves is one thing. Keeping them looking fresh all day is another challenge entirely, especially if you have fine hair or live in a humid climate.
Products That Help Waves Hold
- Mousse before styling: Apply a light volumizing mousse to damp hair before blow-drying. It gives the hair structure that holds waves better once styled.
- Texturizing spray: Spritz through the finished waves for grip and definition without stiffness.
- Light-hold hairspray: Mist from 12 inches away for a soft, flexible finish. Heavy-hold sprays make waves look crunchy.
- Sea salt spray: Perfect for that effortless beachy look. Apply it before waving for added texture.
Overnight Wave Preservation
If you styled your hair in the evening, loosely braid it or twist it into a bun before sleeping. This protects the wave pattern overnight. In the morning, lightly shake the hair out and refresh with a small amount of texturizing spray. You will save yourself a lot of time and heat exposure.
✅ Quick Longevity Hack
After removing the waver, let each wave cool completely before letting it fall. Some people even hold the wave in their hand for 10 seconds while it sets. This small step can add hours to how long your waves last.
Hair Waver Tips for Different Hair Types
Not all hair responds to a waver the same way. Here is a quick breakdown of what works best for each type.
Fine or Thin Hair
Use the lowest effective heat setting, never above 350°F. Keep sections small so the wave sets quickly. Apply mousse before blow-drying to add grip. Waves on fine hair may need more frequent touch-ups throughout the day.
Thick or Coarse Hair
You need more heat and more hold time, but do not rush it. Clamp each section for 8 to 10 seconds. Use a pre-styling spray or serum designed for thick hair to help the tool glide smoothly. Take slightly smaller sections than you think you need.
Natural or Curly Hair
Stretch curls gently with a blow-dryer and round brush before using the waver for a more defined wave look. Alternatively, use the waver on slightly stretched (not fully blown-out) hair for a hybrid texture that blends beautifully with your natural curl pattern.
Color-Treated or Bleached Hair
Always use a heat protectant with added keratin or protein. Keep temperatures at or below 350°F. Limit heat styling to three or fewer times per week to prevent accelerated damage and fading.
How to Clean and Maintain Your Hair Waver
A clean tool performs better and lasts longer. Product buildup on the barrels can cause uneven heat distribution and even transfer residue onto your hair.
- Unplug and let it cool completely. Never clean a hot tool. Wait at least 20 minutes after use.
- Wipe the barrels with a damp cloth. Use a soft, slightly damp cloth to wipe away product residue from the barrels. Do not soak the tool in water.
- Use rubbing alcohol for stubborn buildup. Dip a cotton pad in isopropyl alcohol and gently rub the barrels. This removes wax, hairspray, and oil buildup effectively.
- Store it properly. Once dry, wrap the cord loosely and store the waver in a heat-resistant pouch or flat on a shelf. Never wrap the cord tightly around the tool, as this damages the wiring over time.
You Are More Ready Than You Think
Learning how to use a hair waver for beginners comes down to four things: the right heat for your hair type, clean sectioning, the clamp-slide-release technique, and letting each wave cool before touching it. That is it.
Your first attempt might not be perfect, and that is completely fine. Every single person who now does flawless beach waves burned their knuckles once or created a lopsided mess on their first day. Practice twice a week, use your heat protectant every single time, and you will be getting compliments before you know it.
Now tell me: which hair type are you working with? Drop your question in the comments or share this guide with a friend who has been eyeing that waver in their cart for weeks. You might just change their hair game forever.
Frequently Asked Questions
How long should I hold a hair waver on each section?
Start with 5 seconds for fine hair and 8 to 10 seconds for thick or coarse hair. Release the section and check the result. Adjust the time up or down based on how defined the wave looks.
Can I use a hair waver on dirty hair?
Yes, many stylists say second-day hair actually holds waves better because natural oils add grip. Just make sure the hair is fully dry and not weighed down with too much product from the day before.
Why do my waves fall flat so quickly?
This usually comes down to one of three things: insufficient heat for your hair type, touching the waves before they cool, or not using any hold product. Try increasing your temperature slightly, let each wave cool completely in your hand, and finish with a texturizing spray.
Do I need to use a heat protectant every time?
Absolutely, yes. Heat protectant is not optional. It forms a barrier between your hair cuticle and the hot plates, reducing moisture loss and breakage. Use it before every single heat styling session.
How is a hair waver different from a curling iron?
A curling iron wraps hair around one barrel to create spiral curls. A hair waver presses hair between multiple barrels to create flat S-waves. The result is softer and more relaxed with a waver, while a curling iron gives more defined, bouncy curls.
Can I use a hair waver on short hair?
Yes, but use a mini waver with smaller barrels for better control on shorter lengths. Technique-wise, take smaller sections and work from the ear down rather than starting at the nape.
What is the best temperature for a hair waver for beginners?
For most beginners with normal hair, 320°F to 350°F (160°C to 180°C) is a safe starting point. It is warm enough to set the wave but forgiving enough to prevent immediate damage if you hold a section a few seconds too long.
How often can I use a hair waver without damaging my hair?
For most hair types, two to three times per week is the general safe limit when you are using heat protectant and the correct temperature. Color-treated or very fine hair benefits from limiting heat styling to once or twice a week.
Should I wave my hair from top to bottom or bottom to top?
Start from the bottom layer and work your way up. This way, the finished lower layers stay protected under clips while you wave the upper sections, preventing you from accidentally flattening already-waved hair.
Can I use a hair waver on extensions?
It depends on the extension type. Human hair extensions can be heat-styled at normal temperatures. Synthetic extensions cannot handle heat and will melt or frizz permanently. Always check the extension manufacturer’s guidelines before applying any heat tool.
Read More…….
LM
About the Author
Layla Monroe
Layla Monroe is a certified hair stylist and beauty content writer with over 8 years of hands-on salon experience. She specializes in heat styling techniques, hair care routines, and making professional beauty knowledge accessible to everyday people. Layla writes to help readers skip the trial-and-error and get real results at home.